The pipeline · 13 tools

Every tool in the pipeline.

Seven that generate imagery from scratch, six that rework what you already have. They share one model roster, one queue and one export.

Generate

Makes imagery that didn't exist before.

7 tools

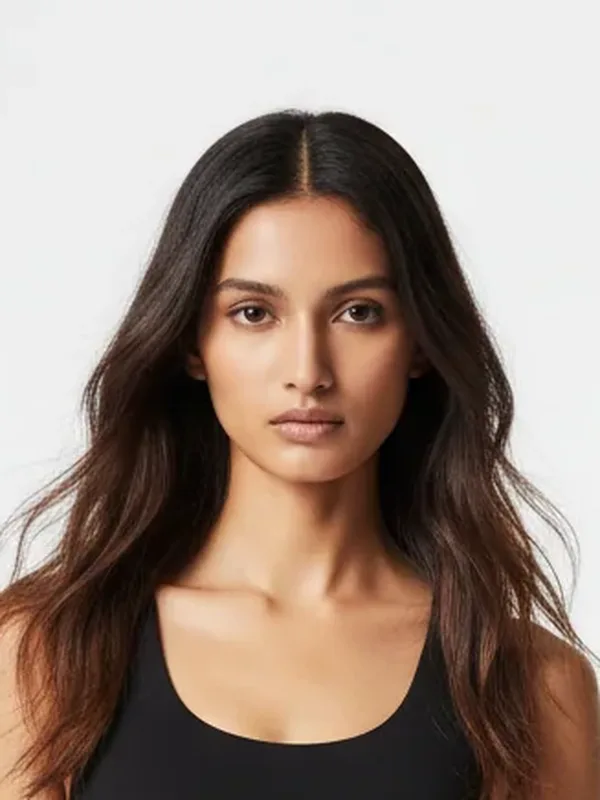
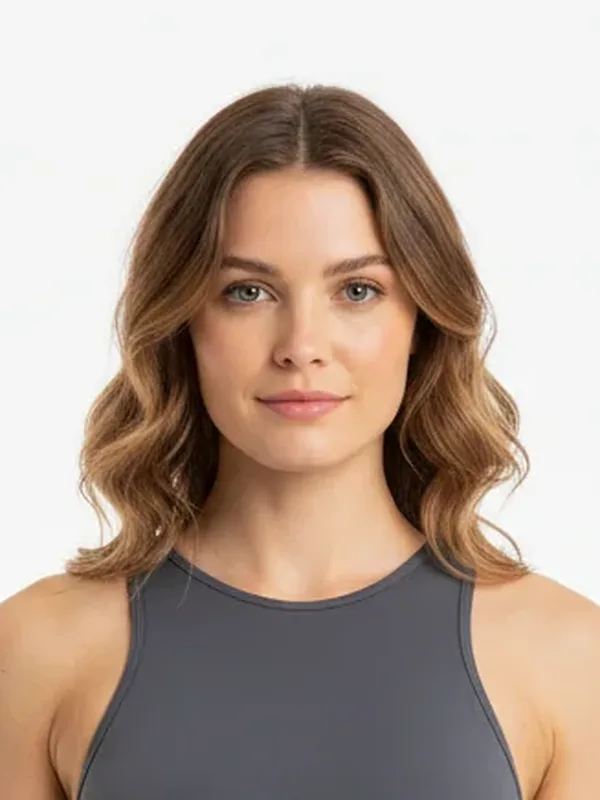
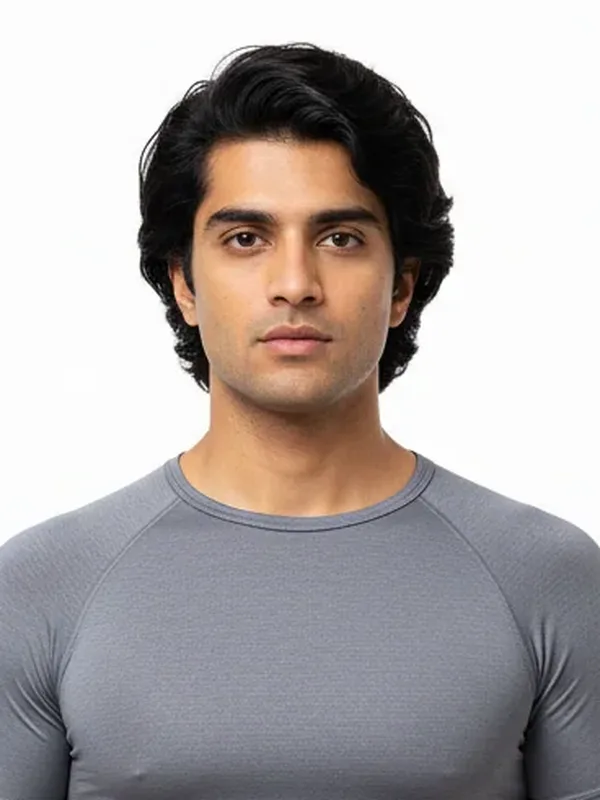
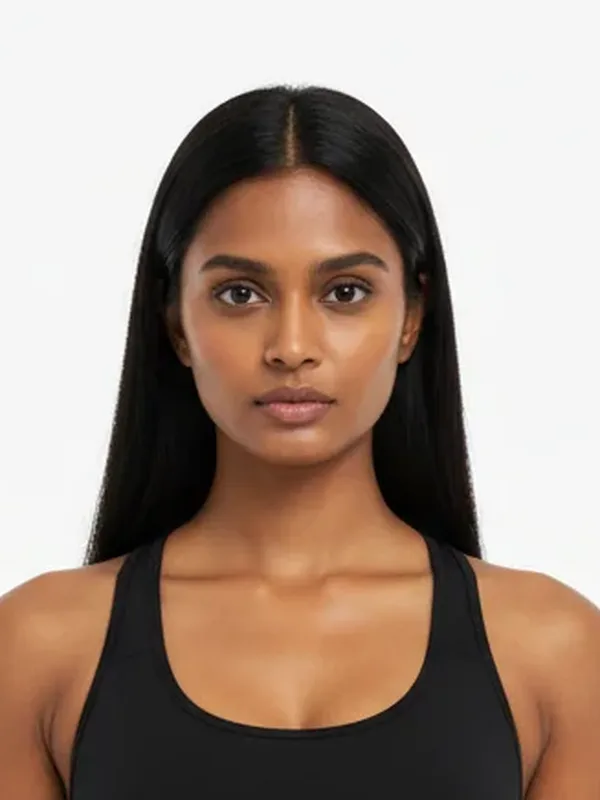
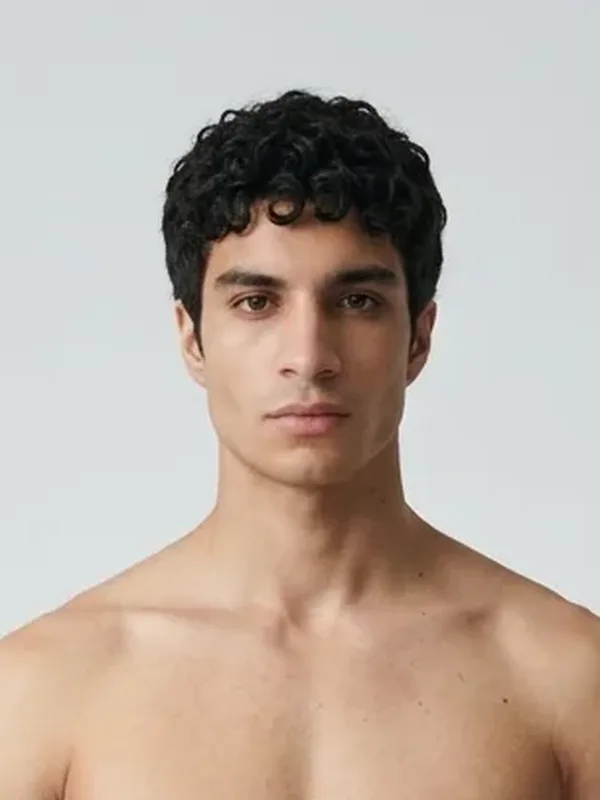
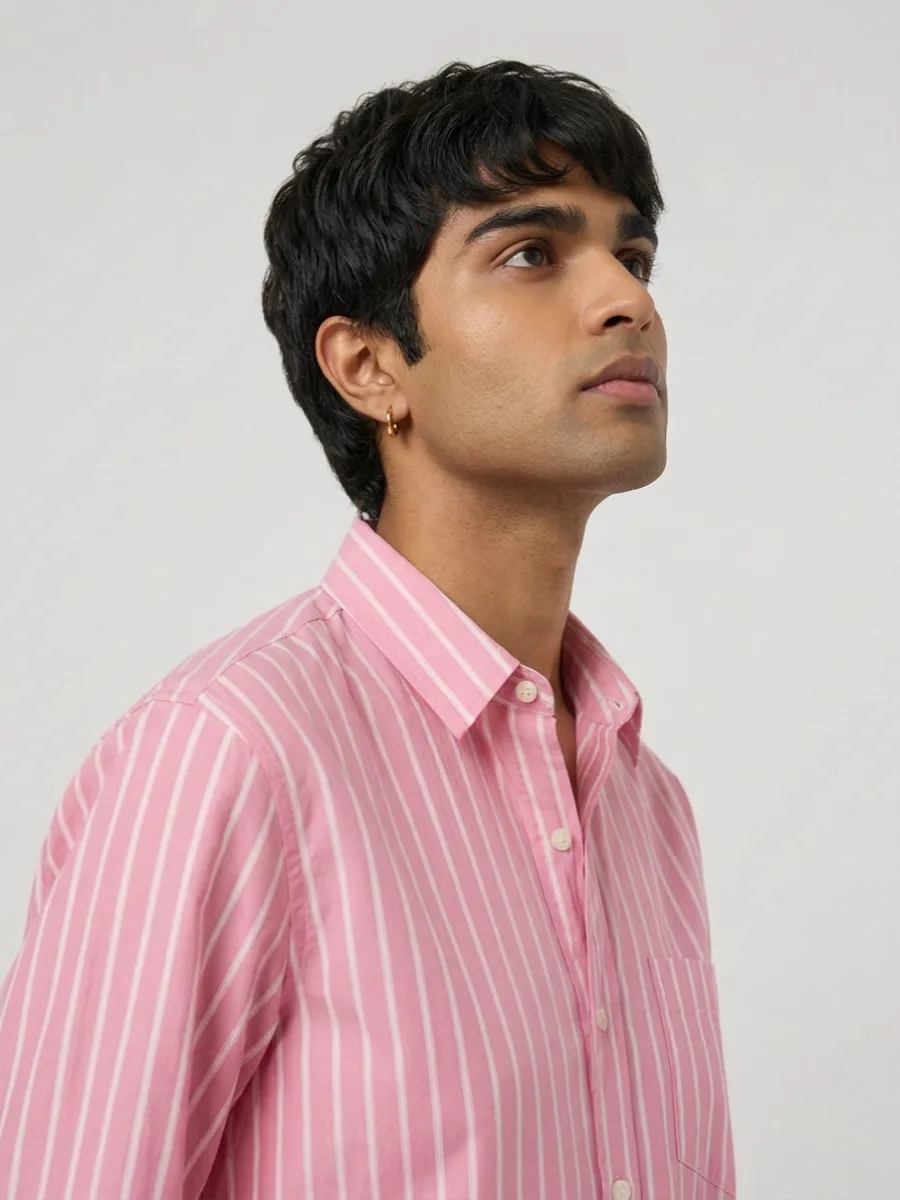
Model Generator

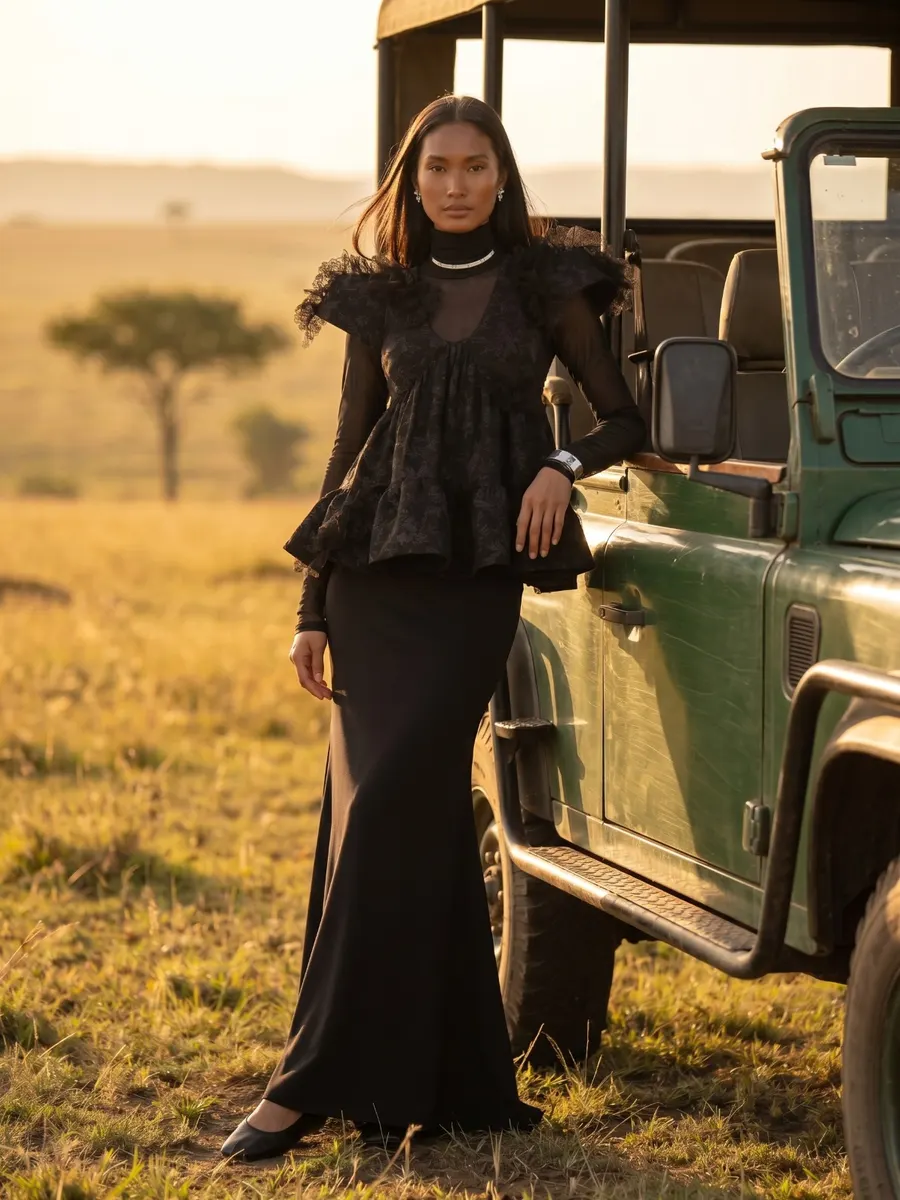
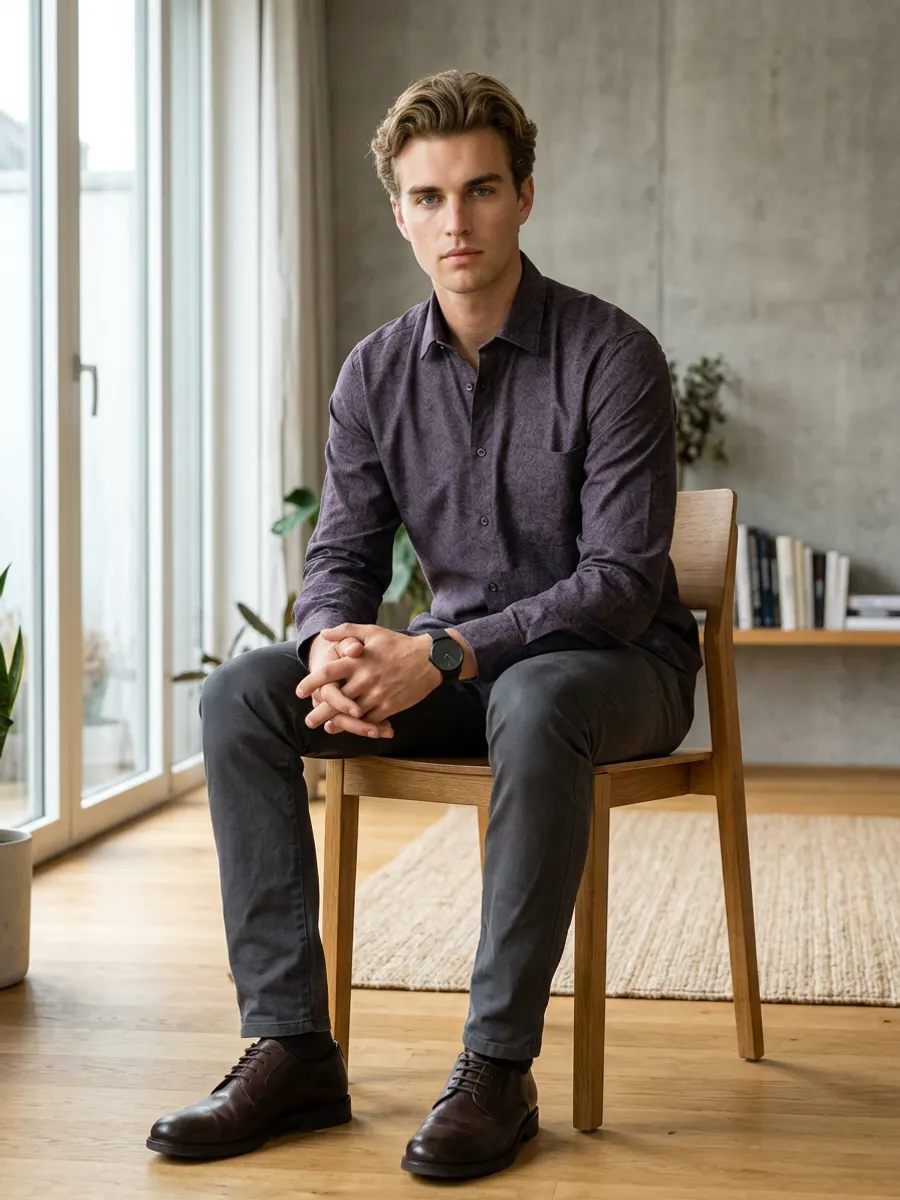
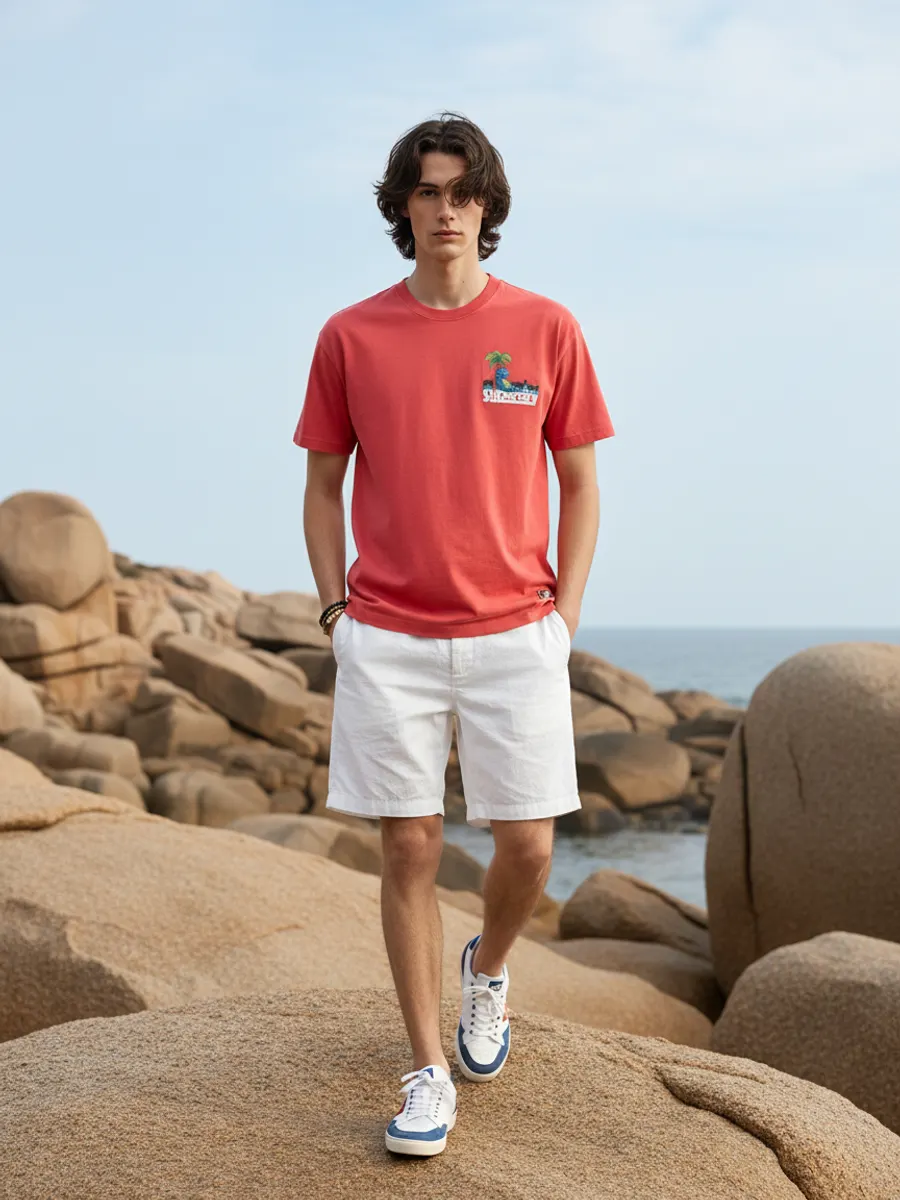
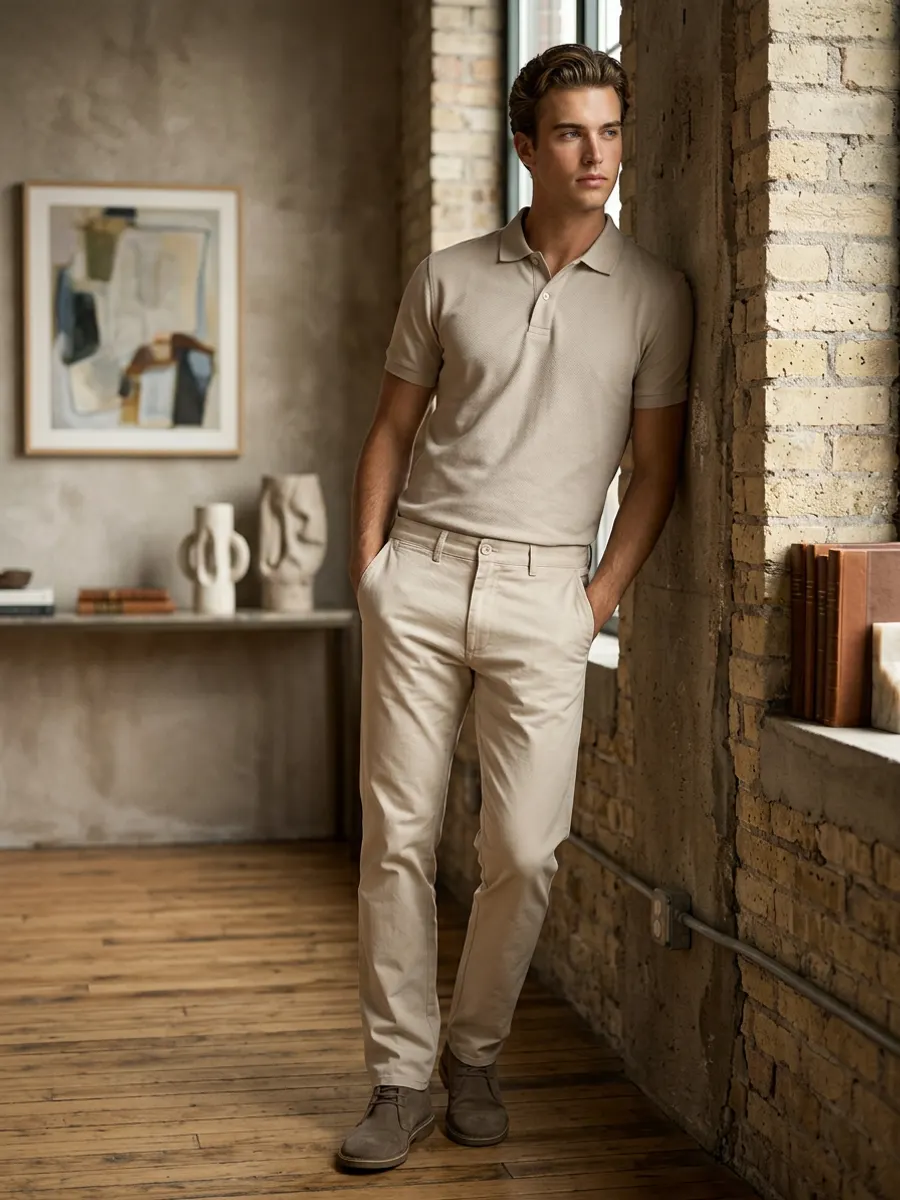
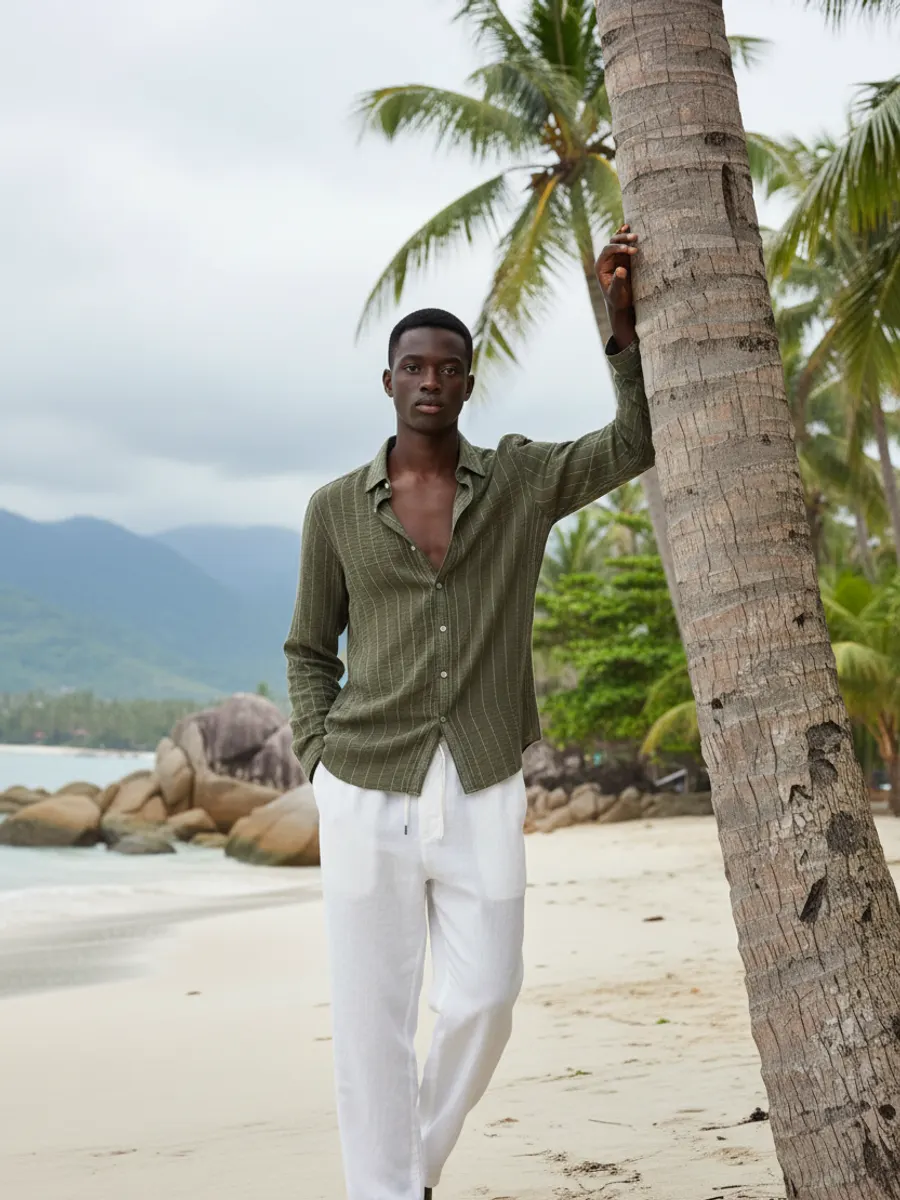
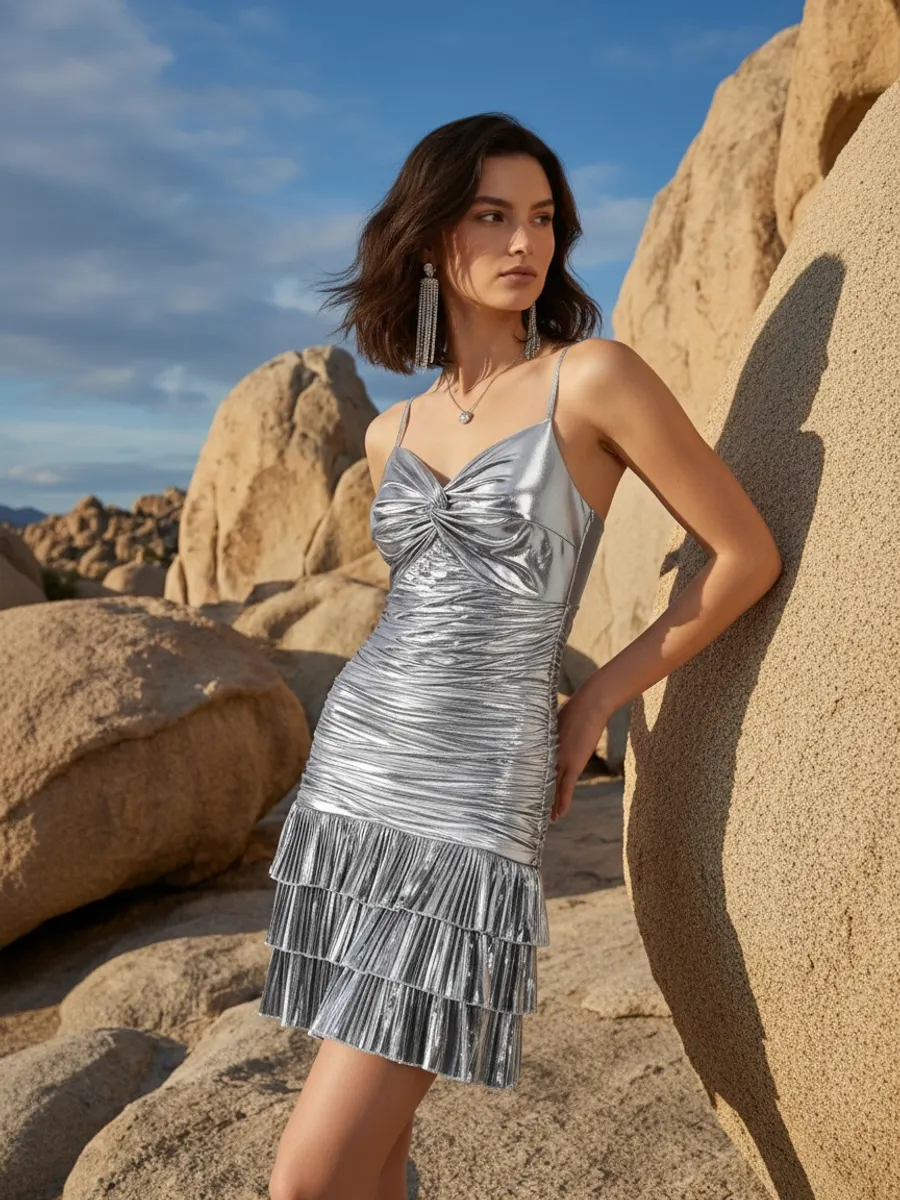
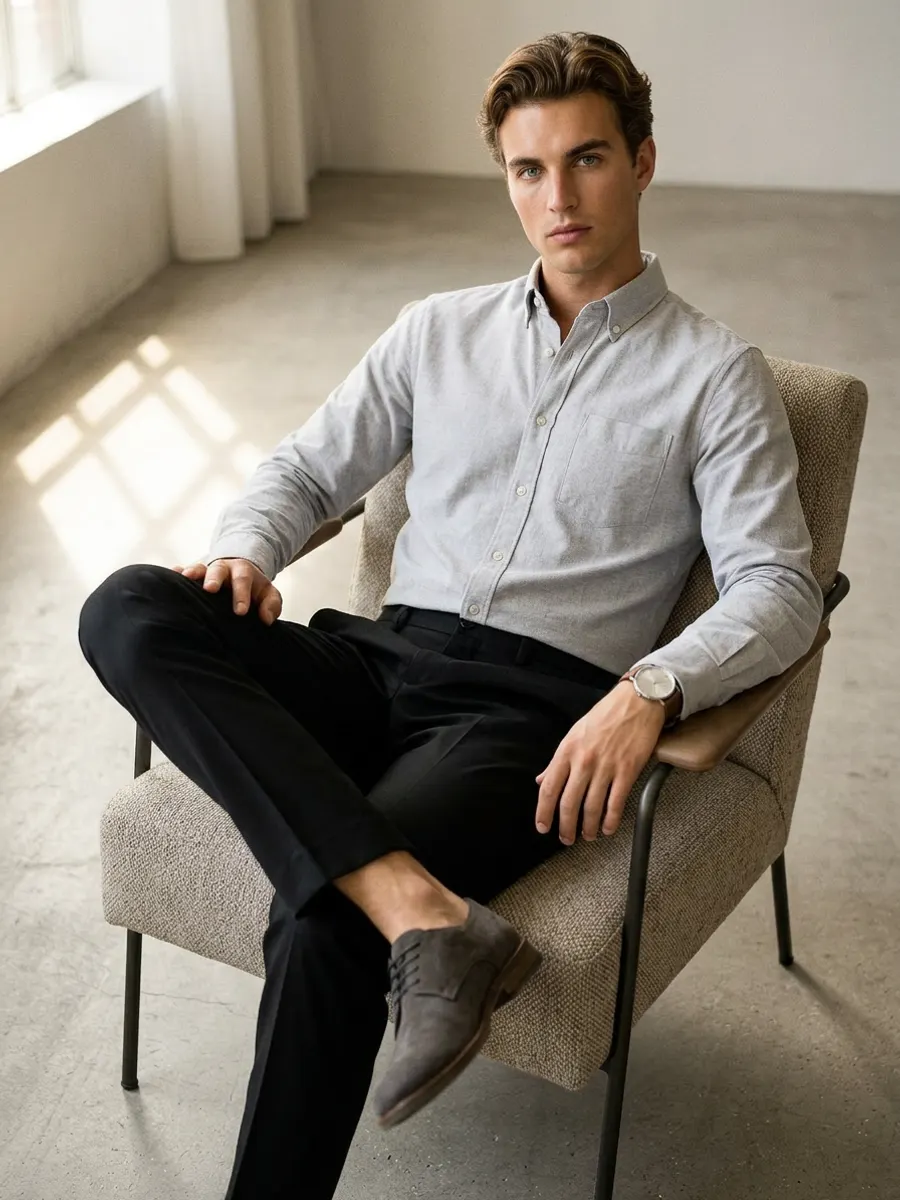
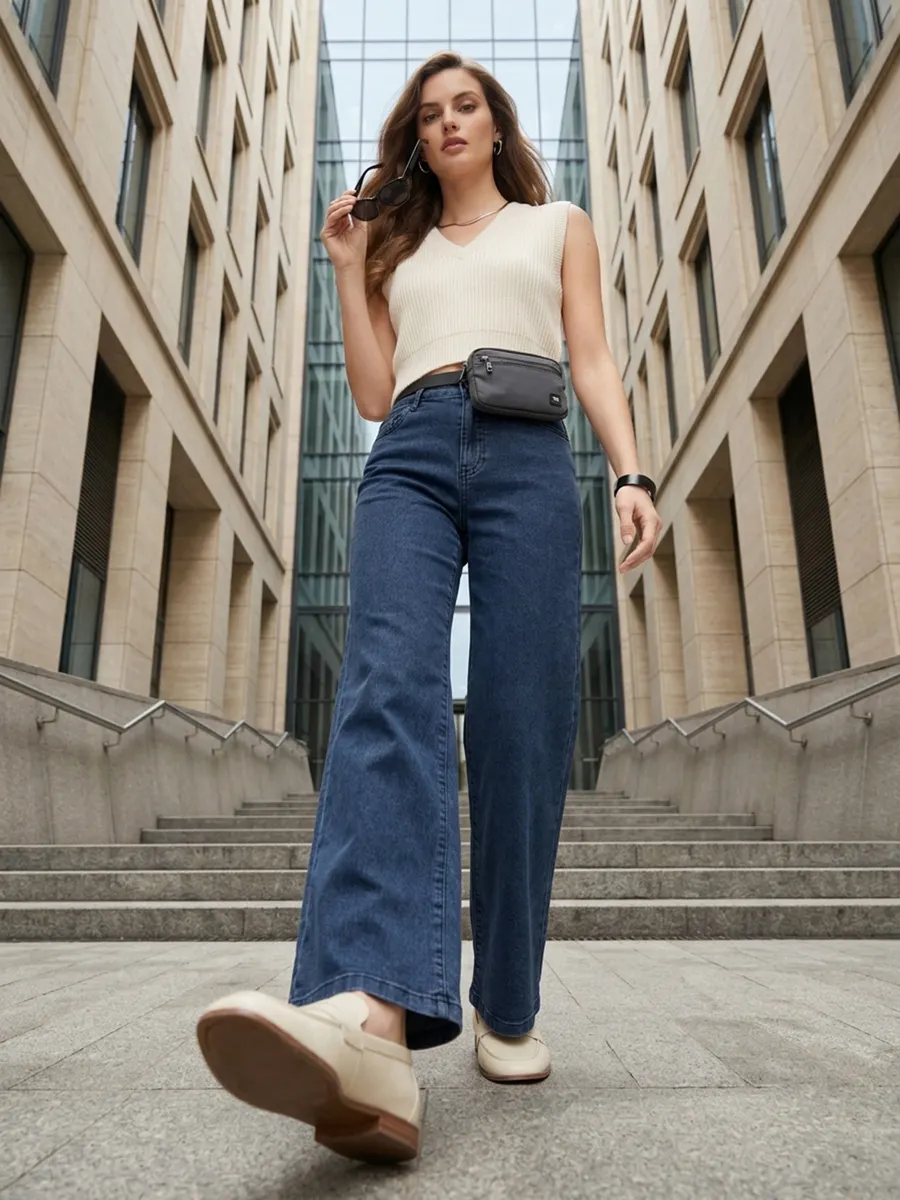
Cast once, reuse forever. Generate a set of faces that belong to your brand, save them, and put the same people in front of every SKU, every season and every market — so the catalogue finally reads as one label instead of twelve shoot days.

  1. 1Set the traits, or upload a reference face
  2. 2Generate the faces
  3. 3Save them to your model library
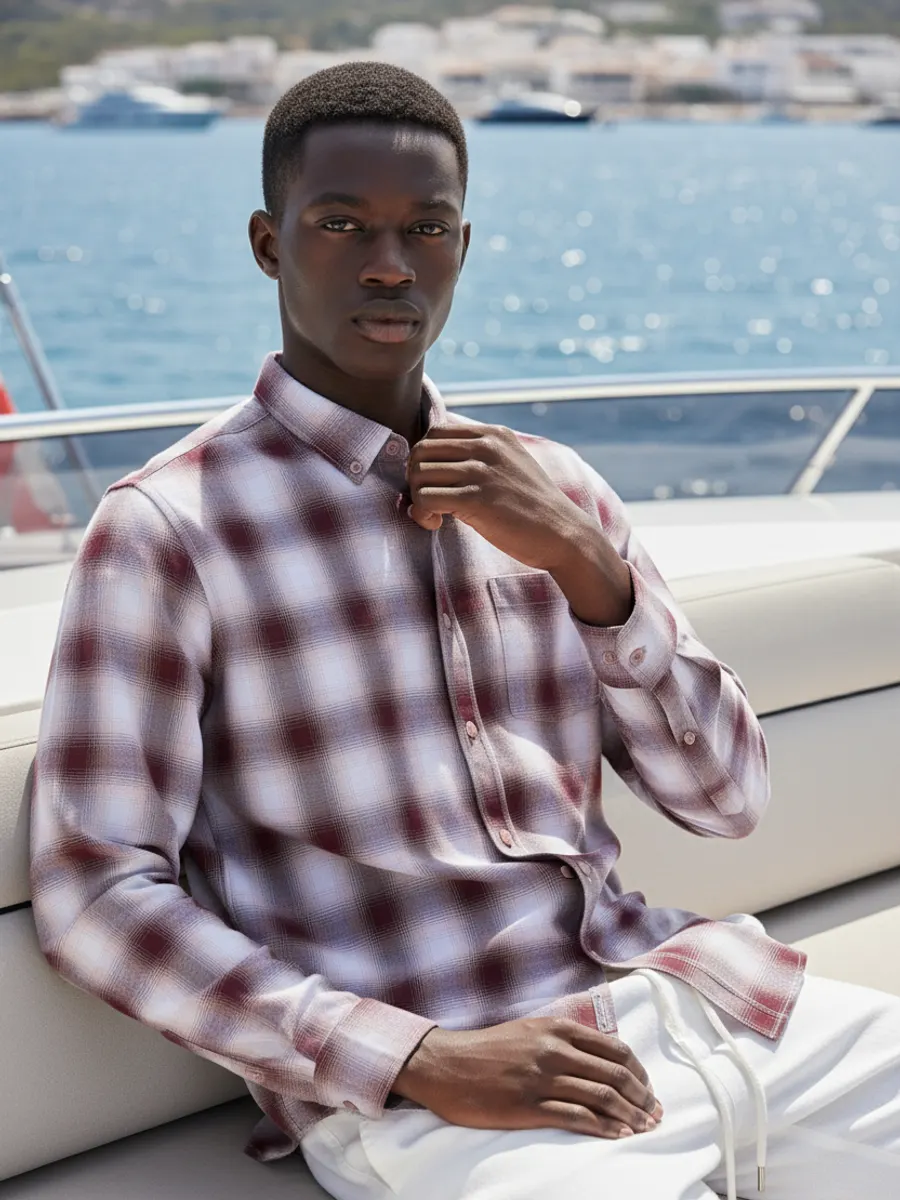
Model Generator example 1: Build a roster of custom AI fashion models, saved to your library.
Model Generator example 2: Build a roster of custom AI fashion models, saved to your library.
Model Generator example 3: Build a roster of custom AI fashion models, saved to your library.
Model Generator example 4: Build a roster of custom AI fashion models, saved to your library.
Model Generator example 5: Build a roster of custom AI fashion models, saved to your library.
Model Generator example 6: Build a roster of custom AI fashion models, saved to your library.

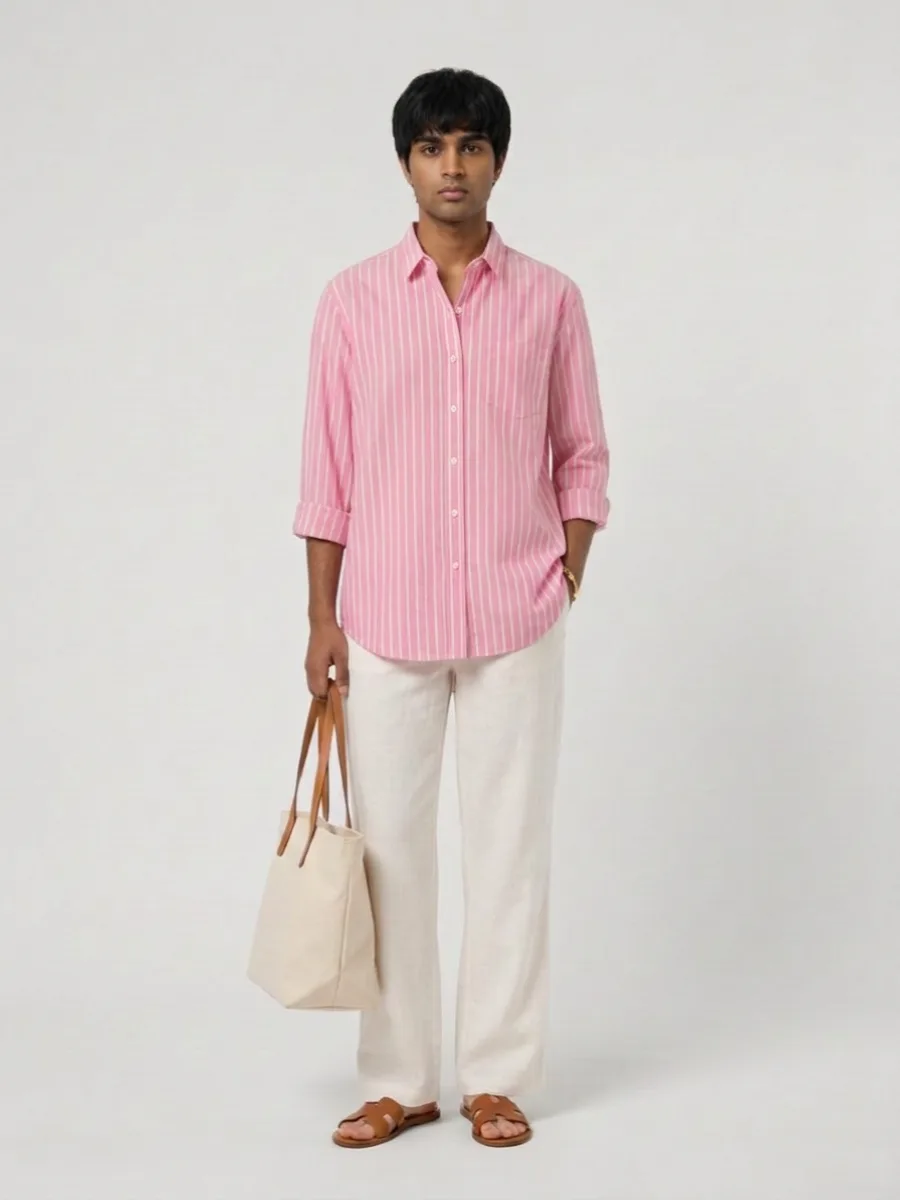
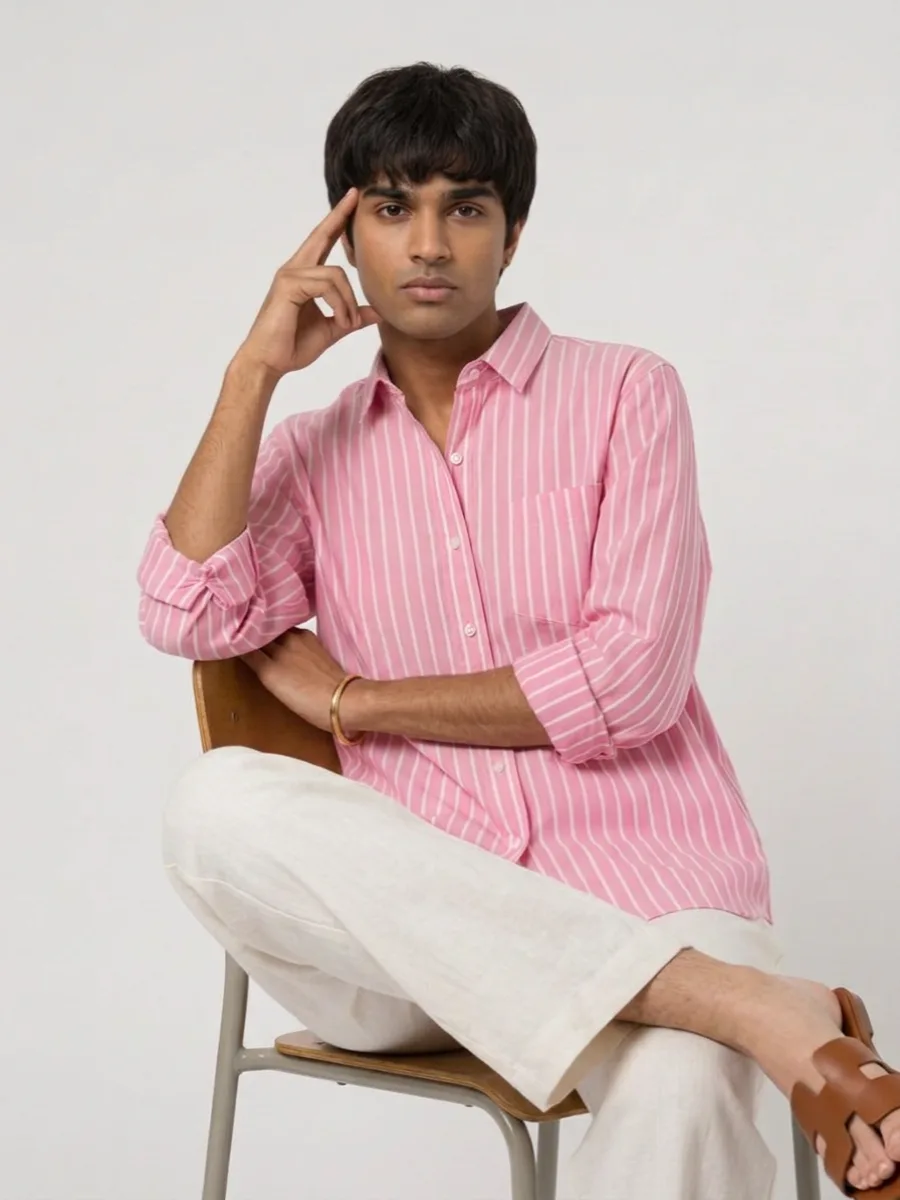
Catalog

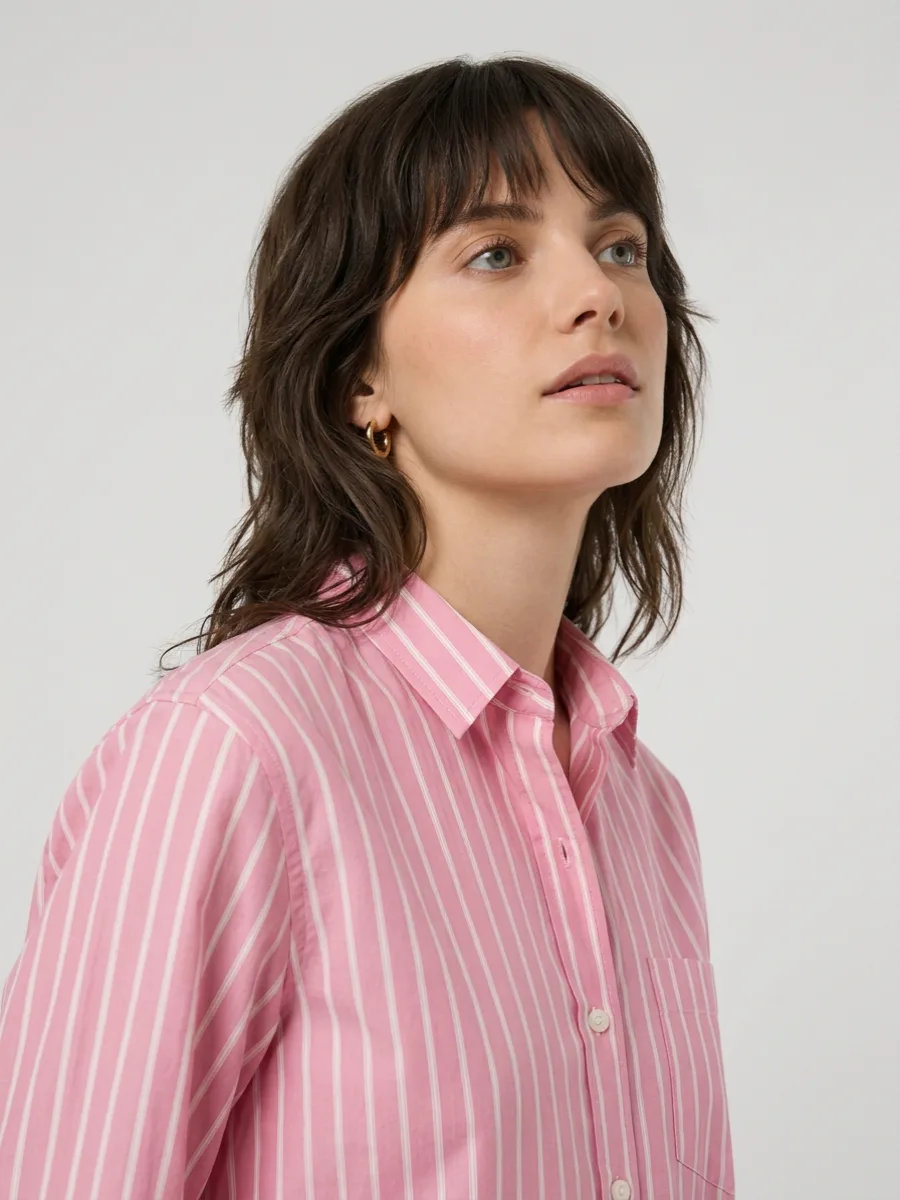
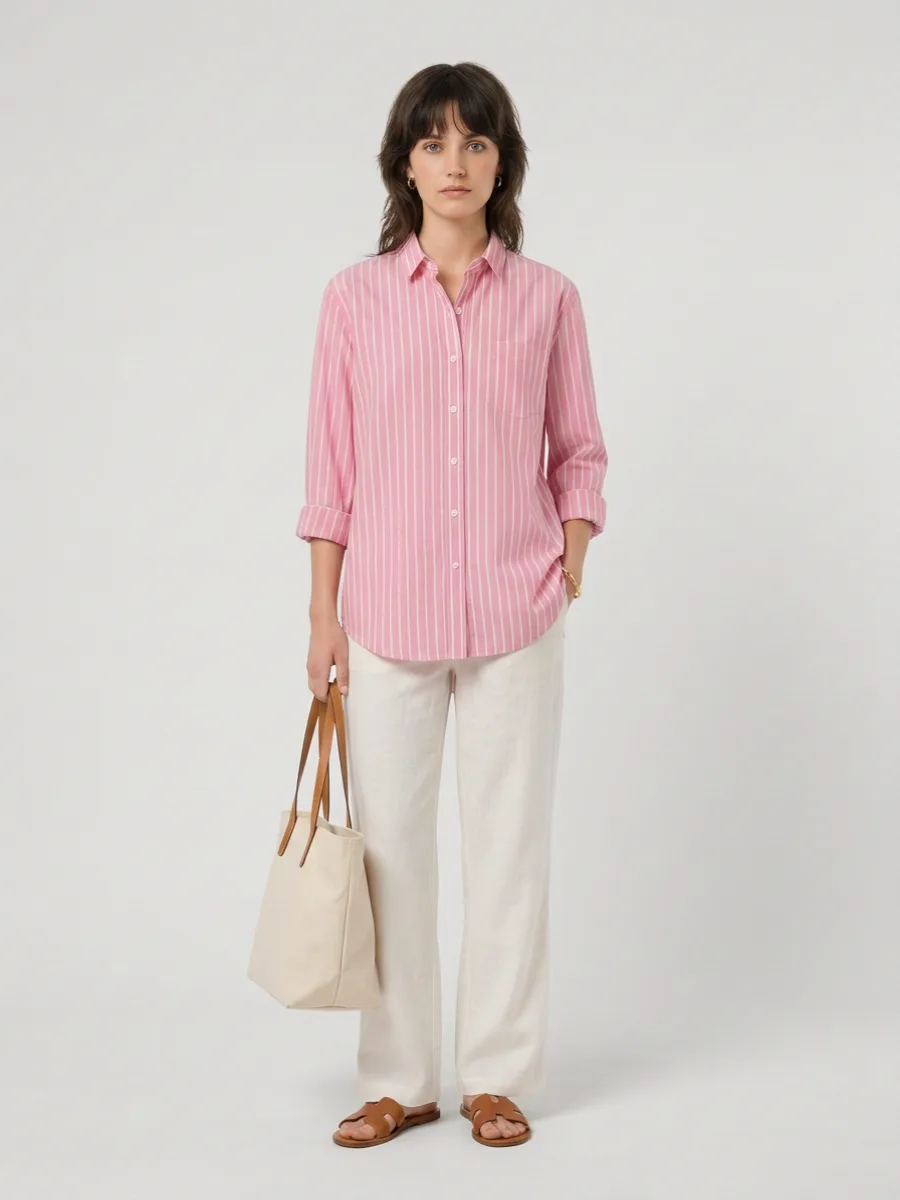
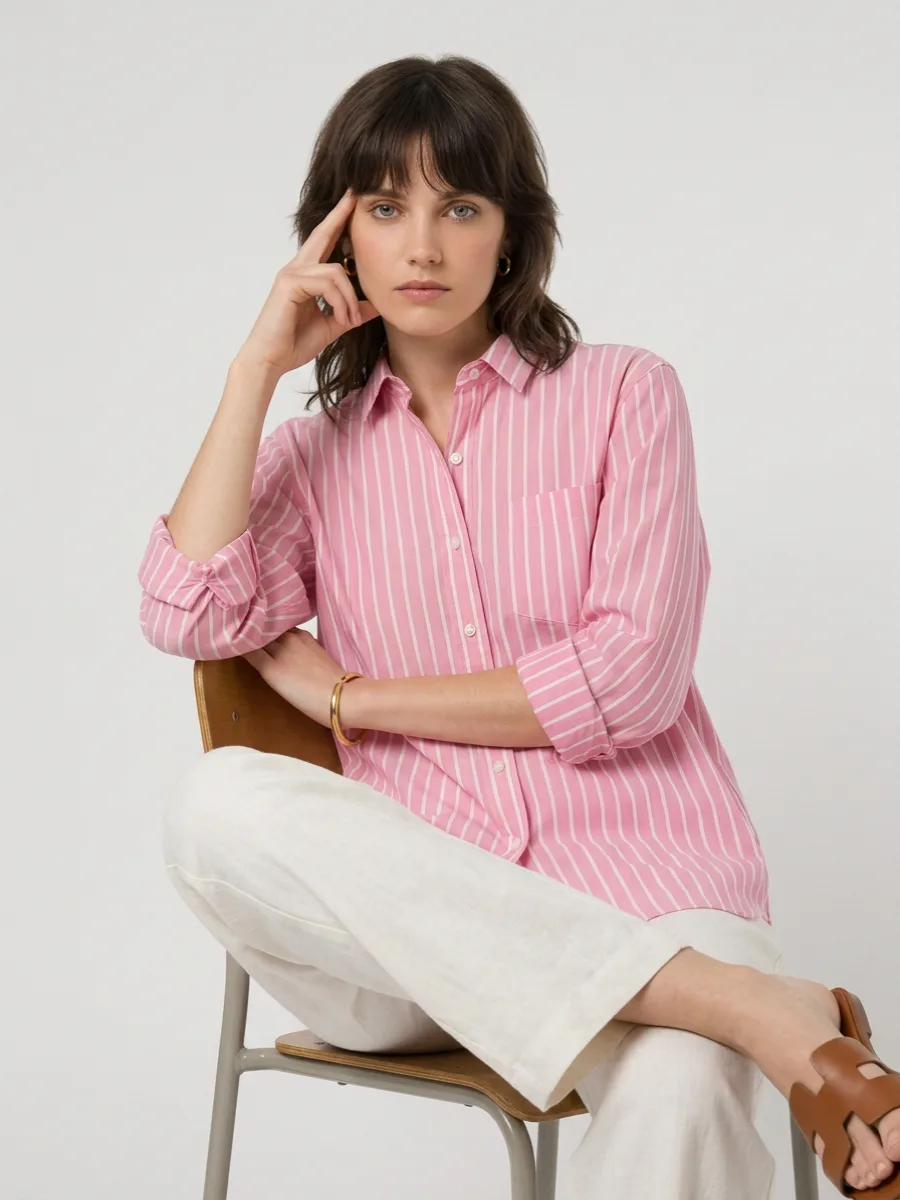
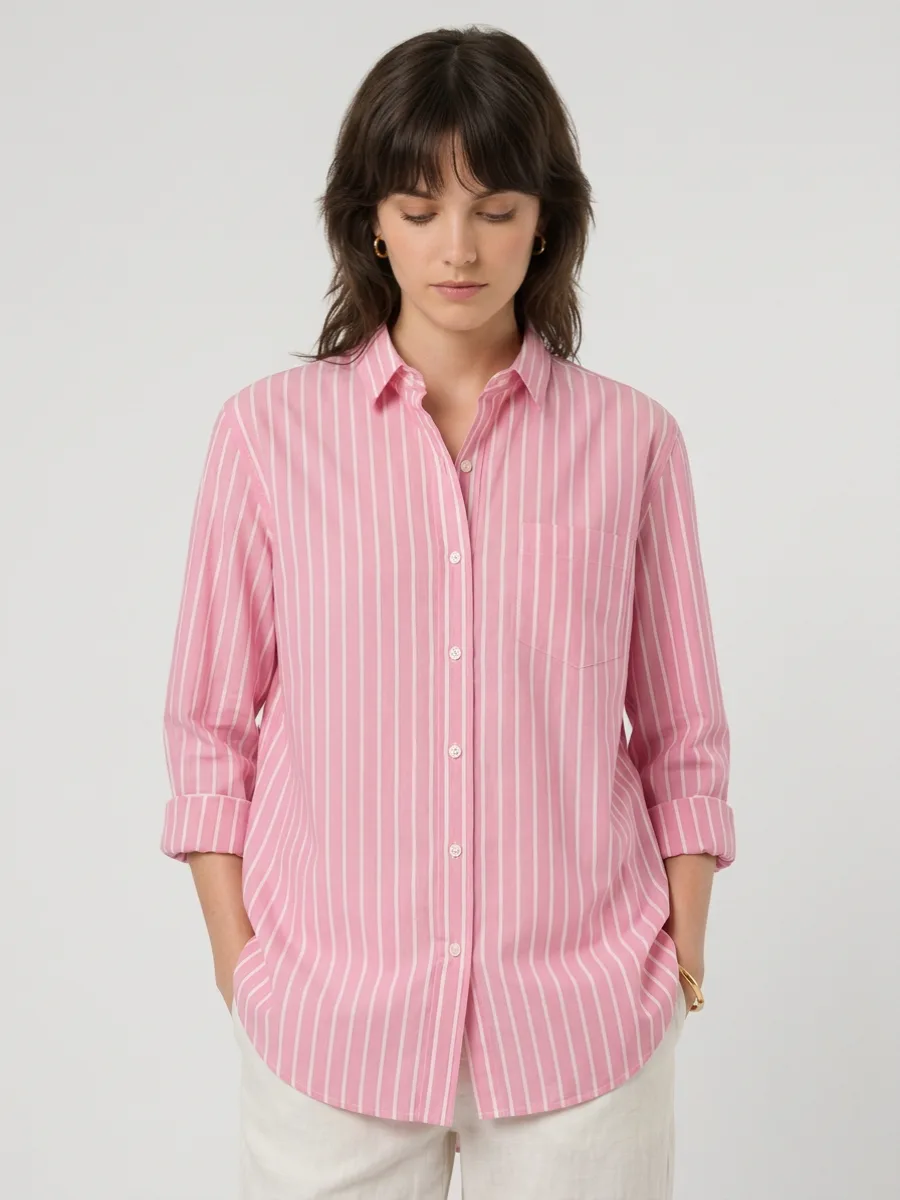
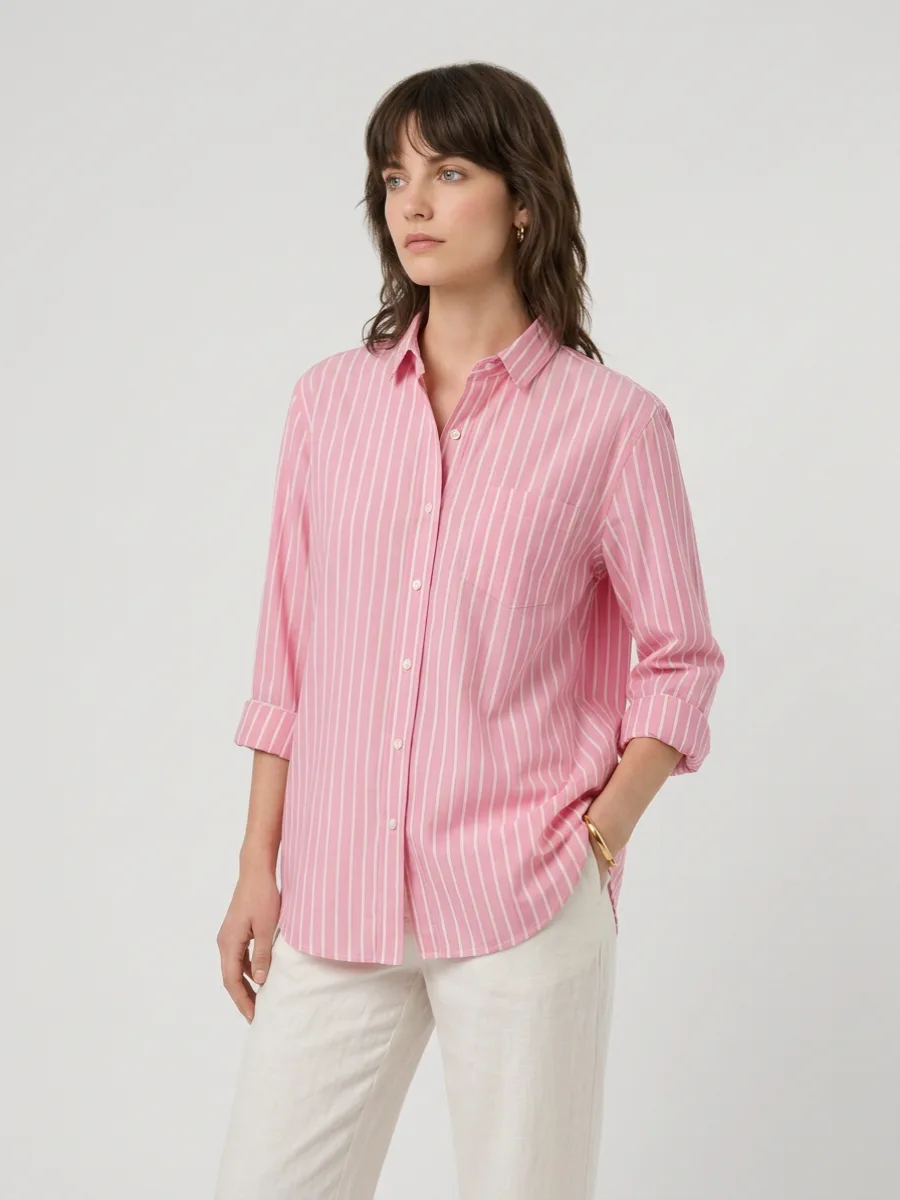
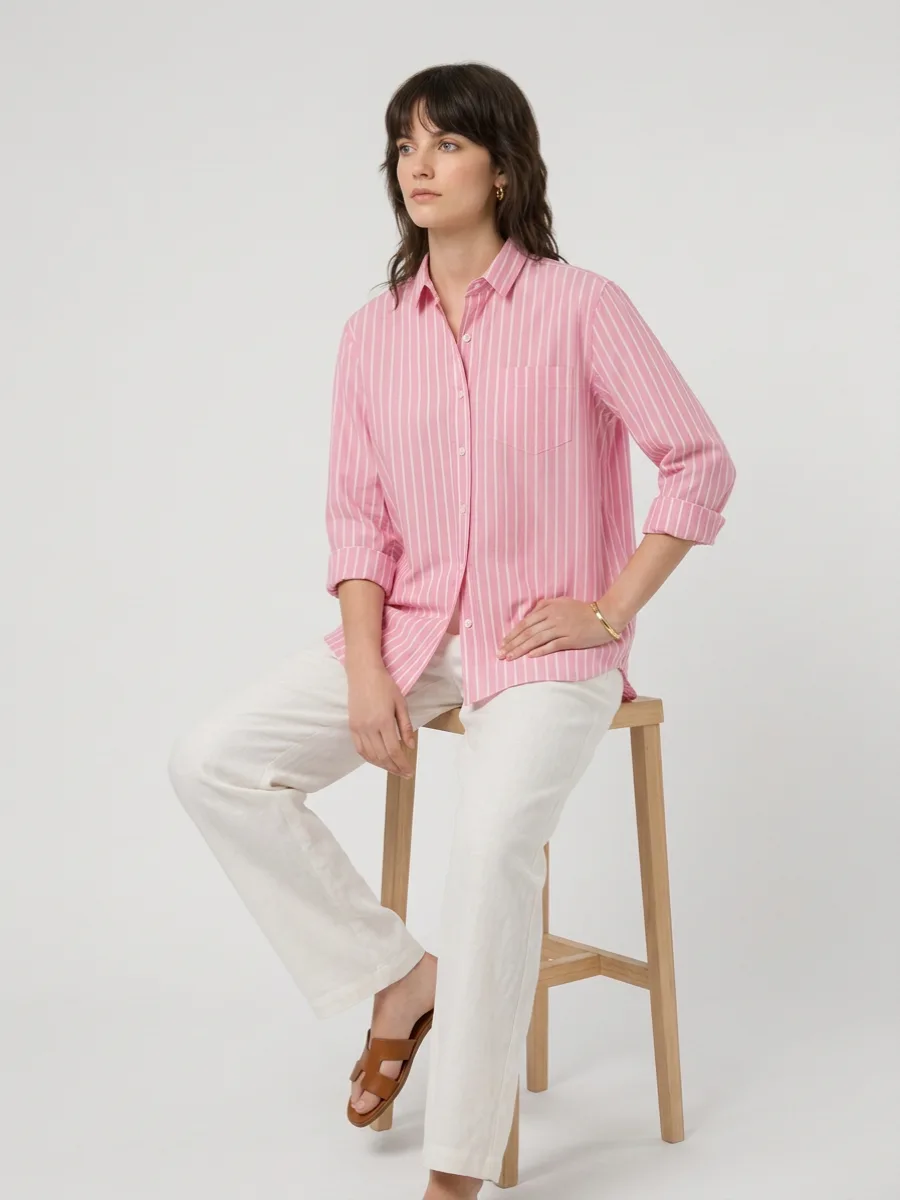
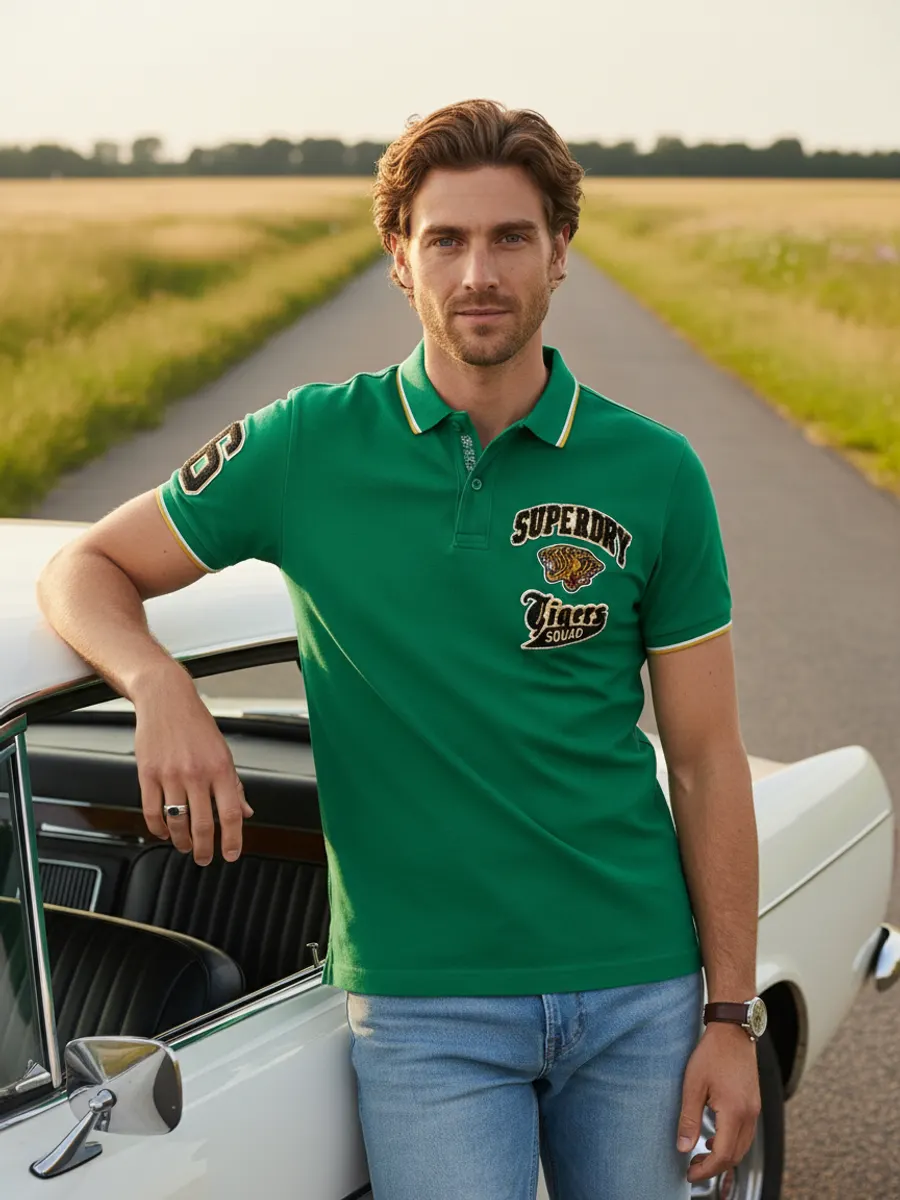
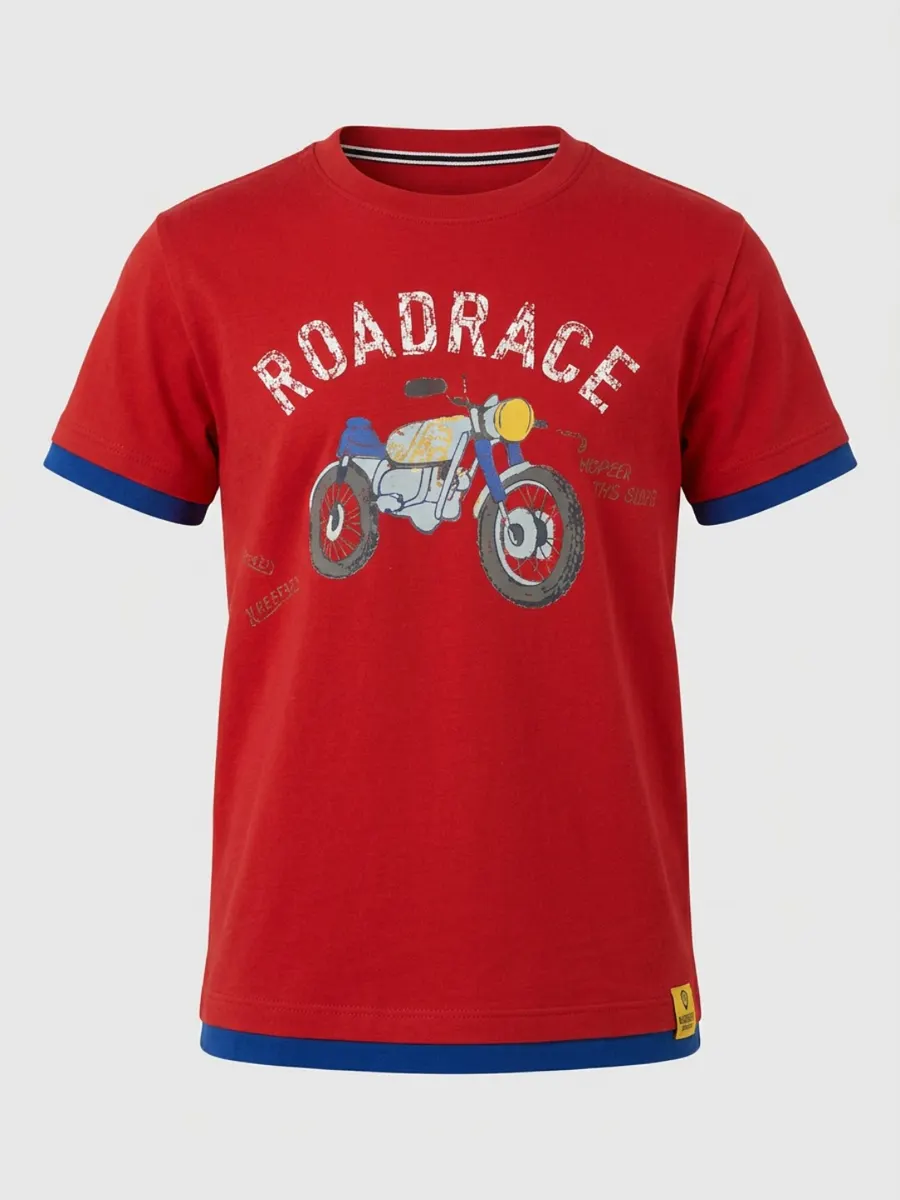
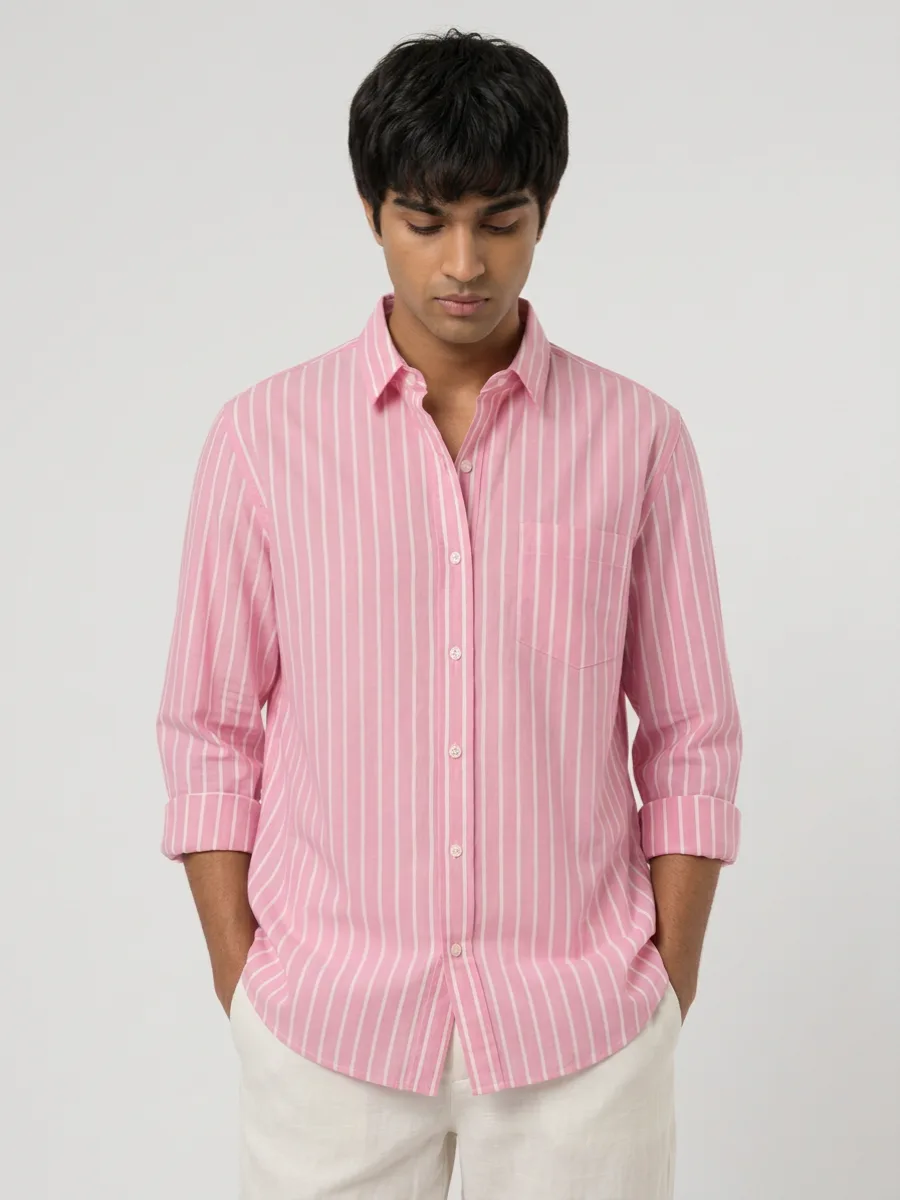
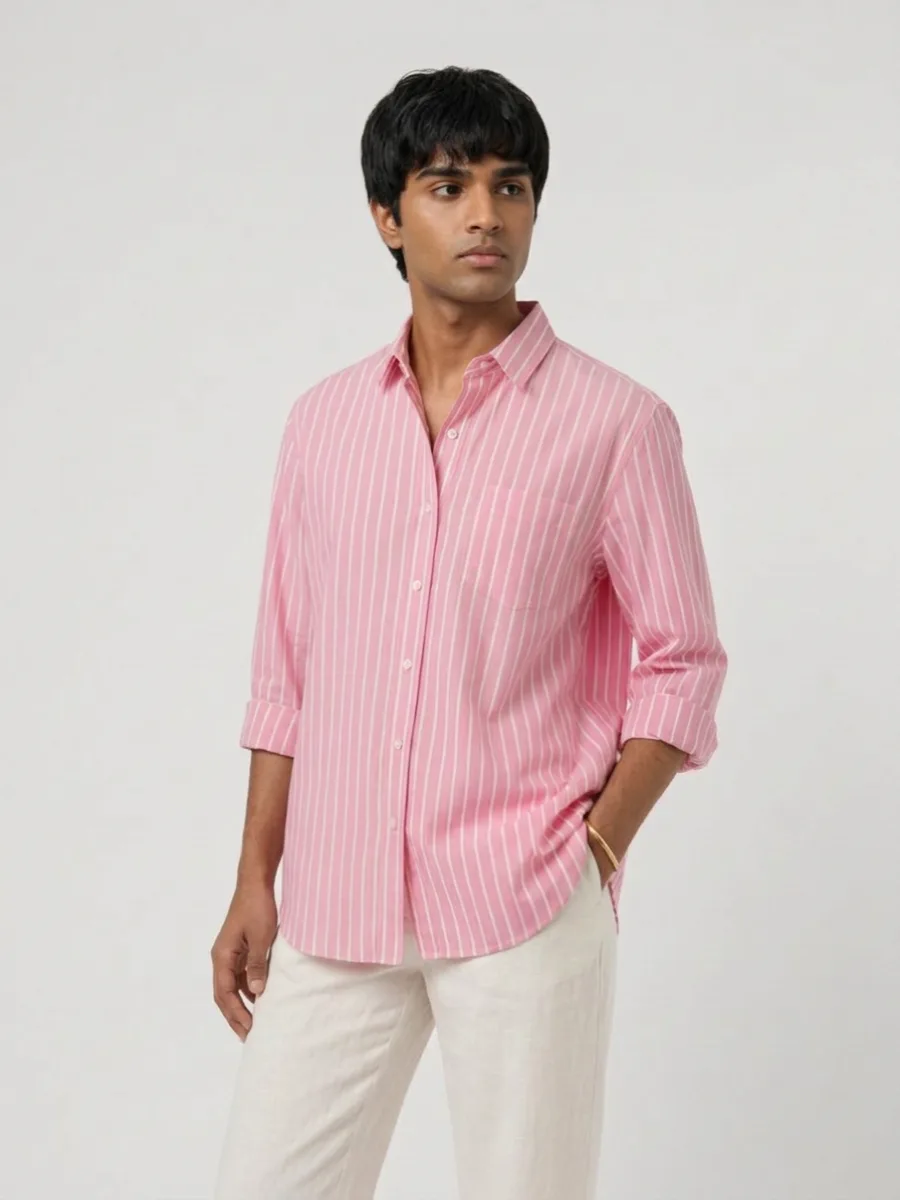
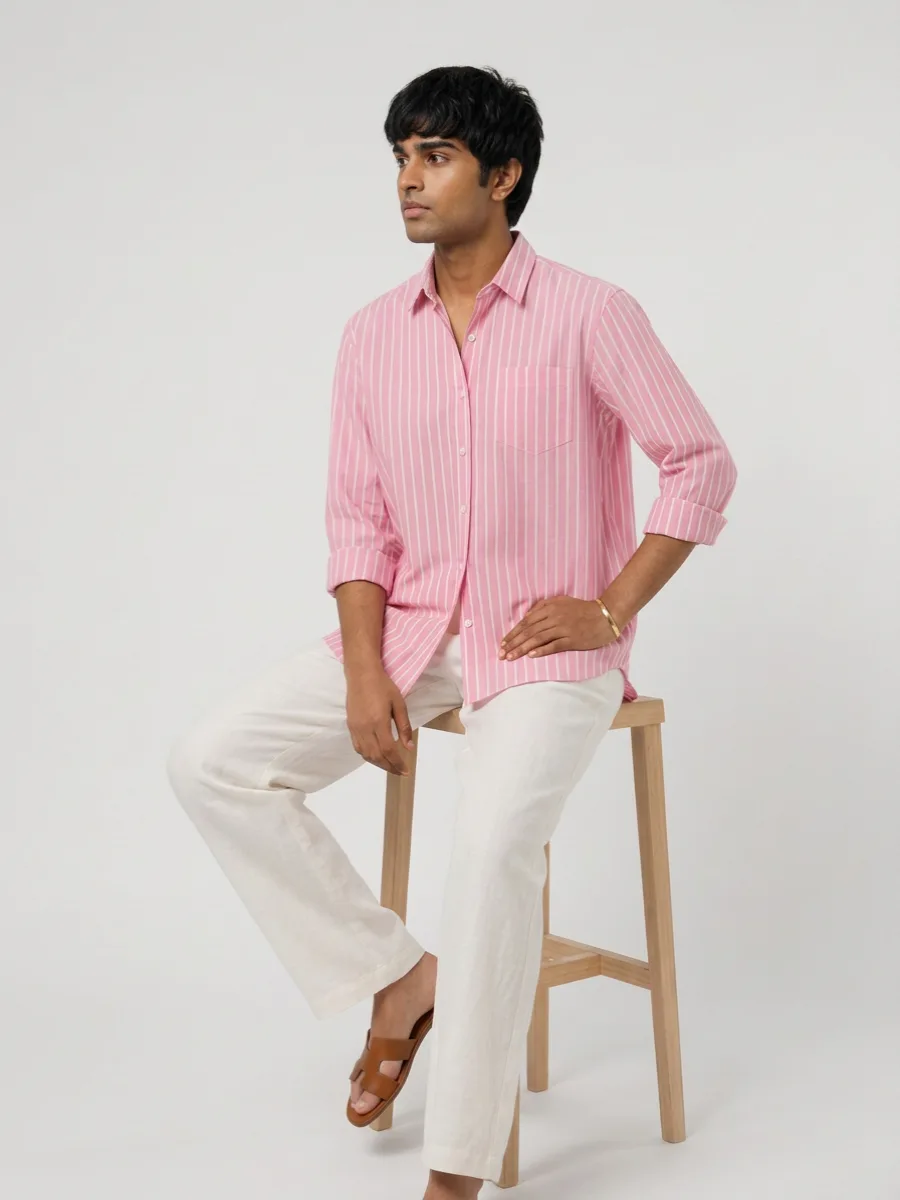
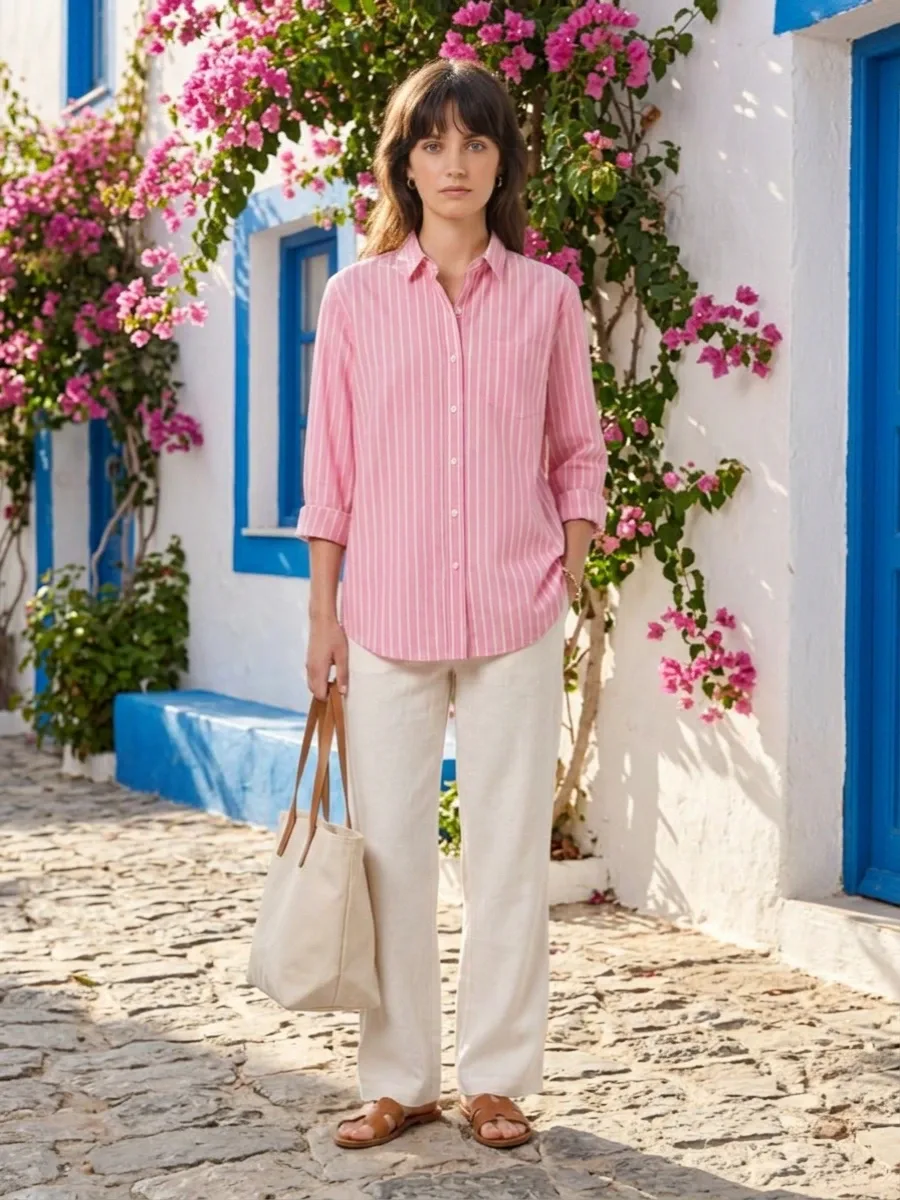
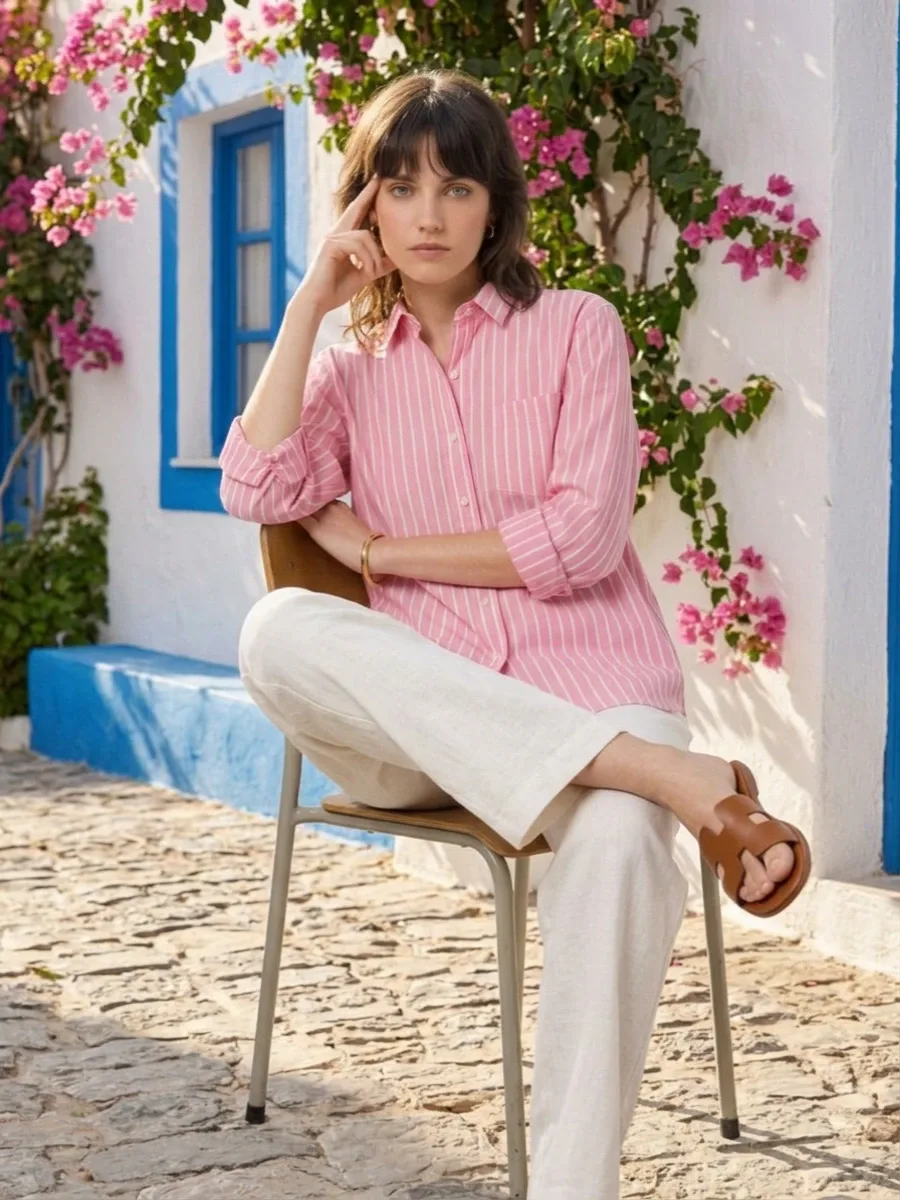
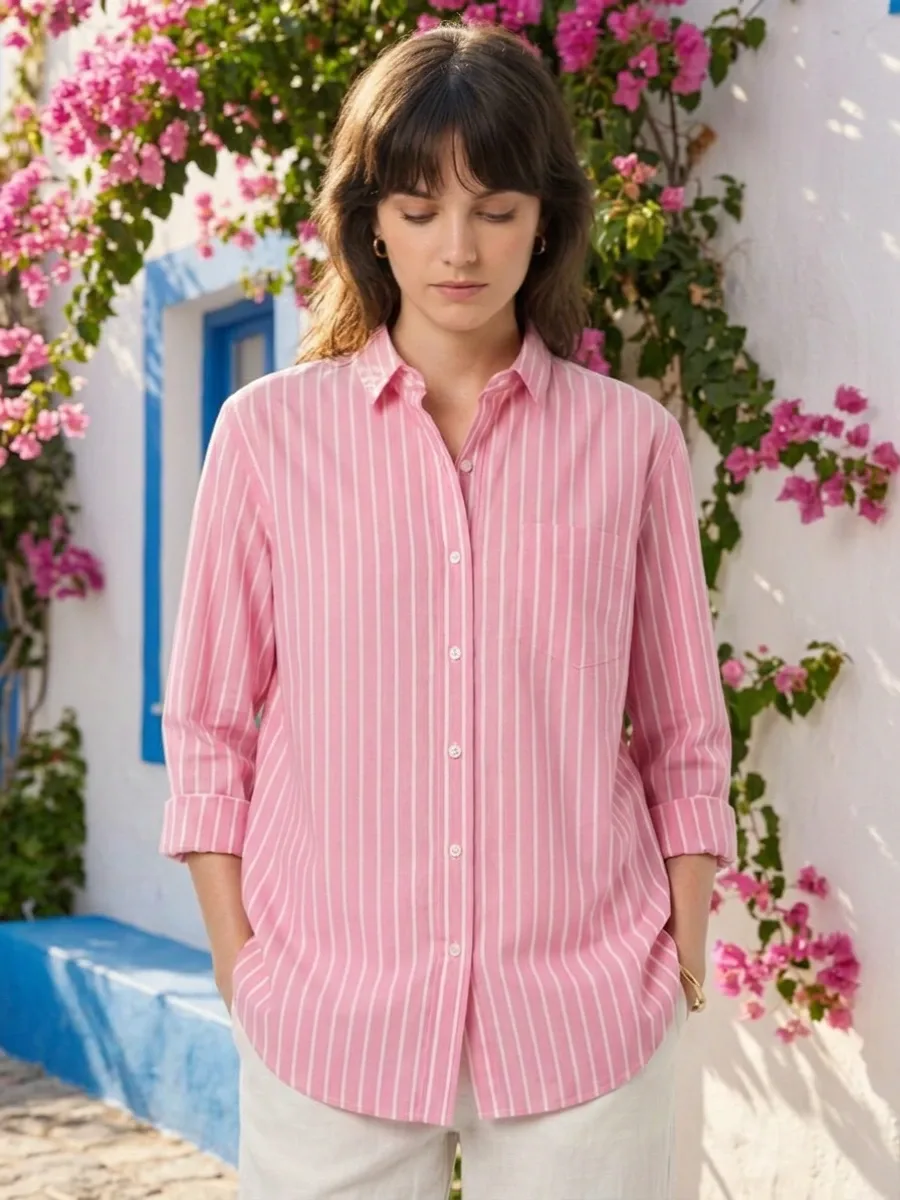
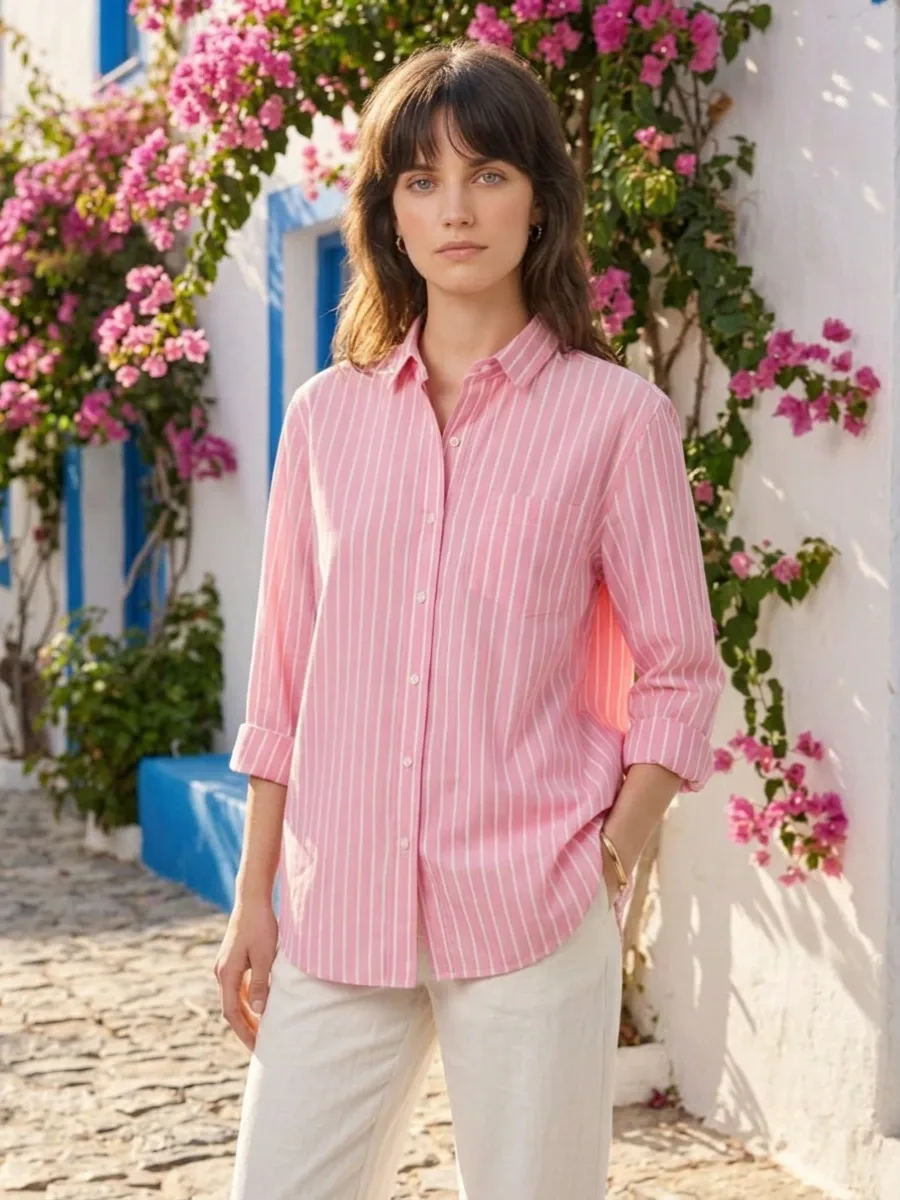
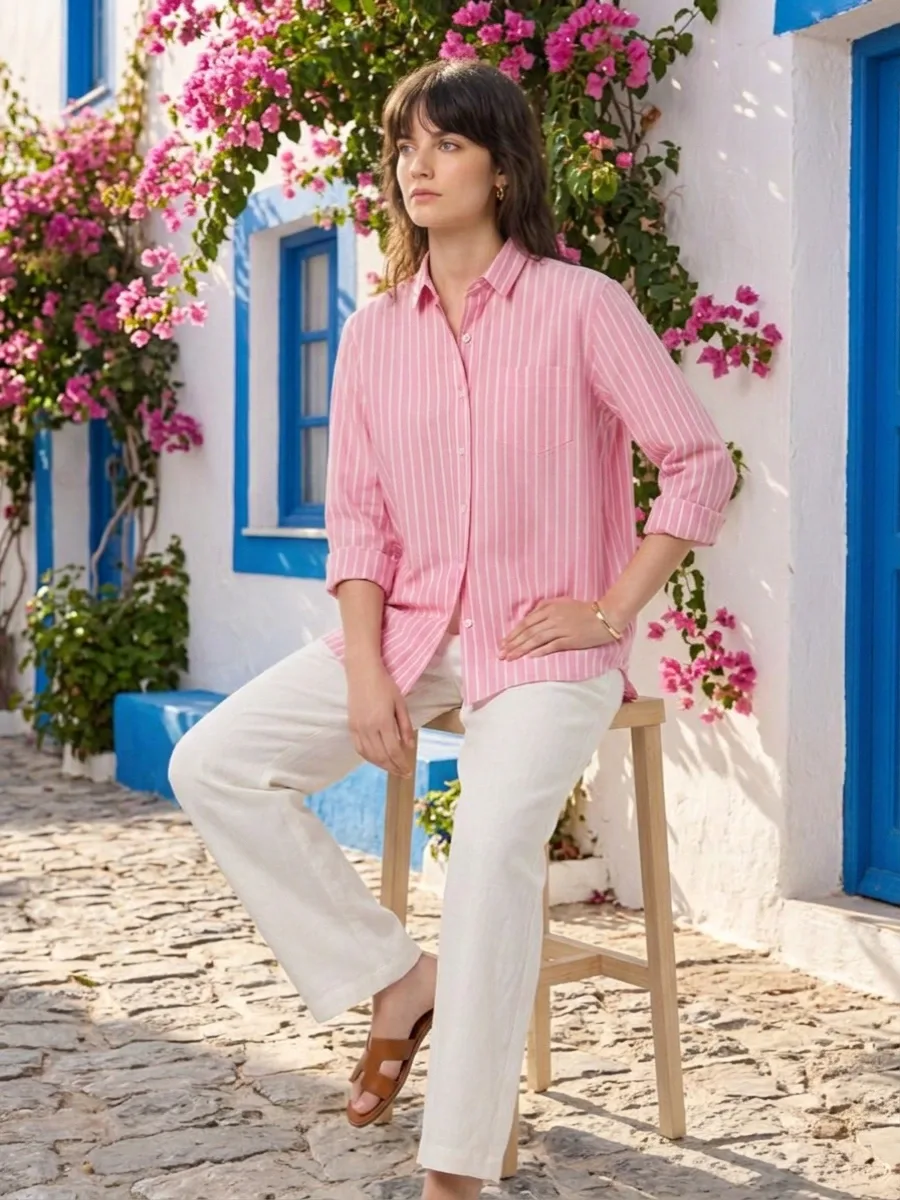
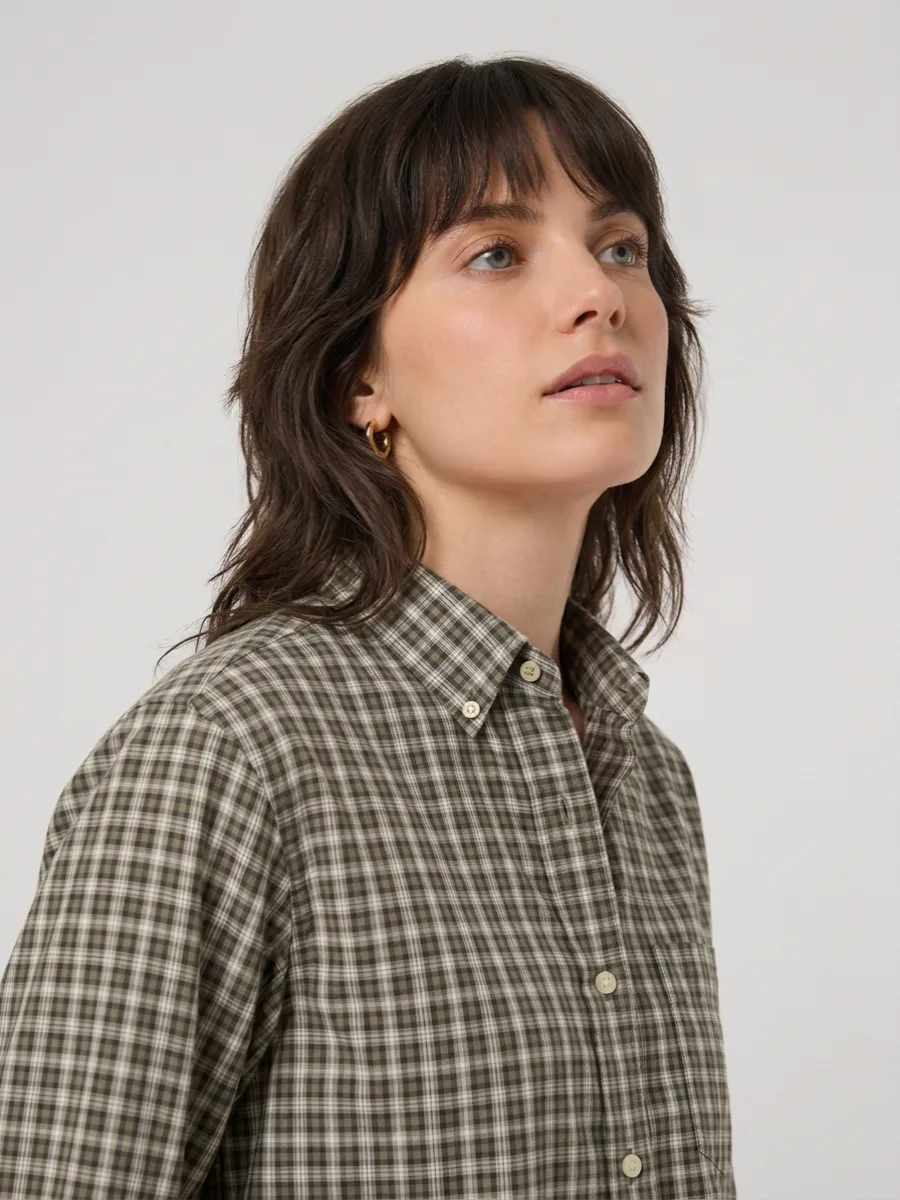
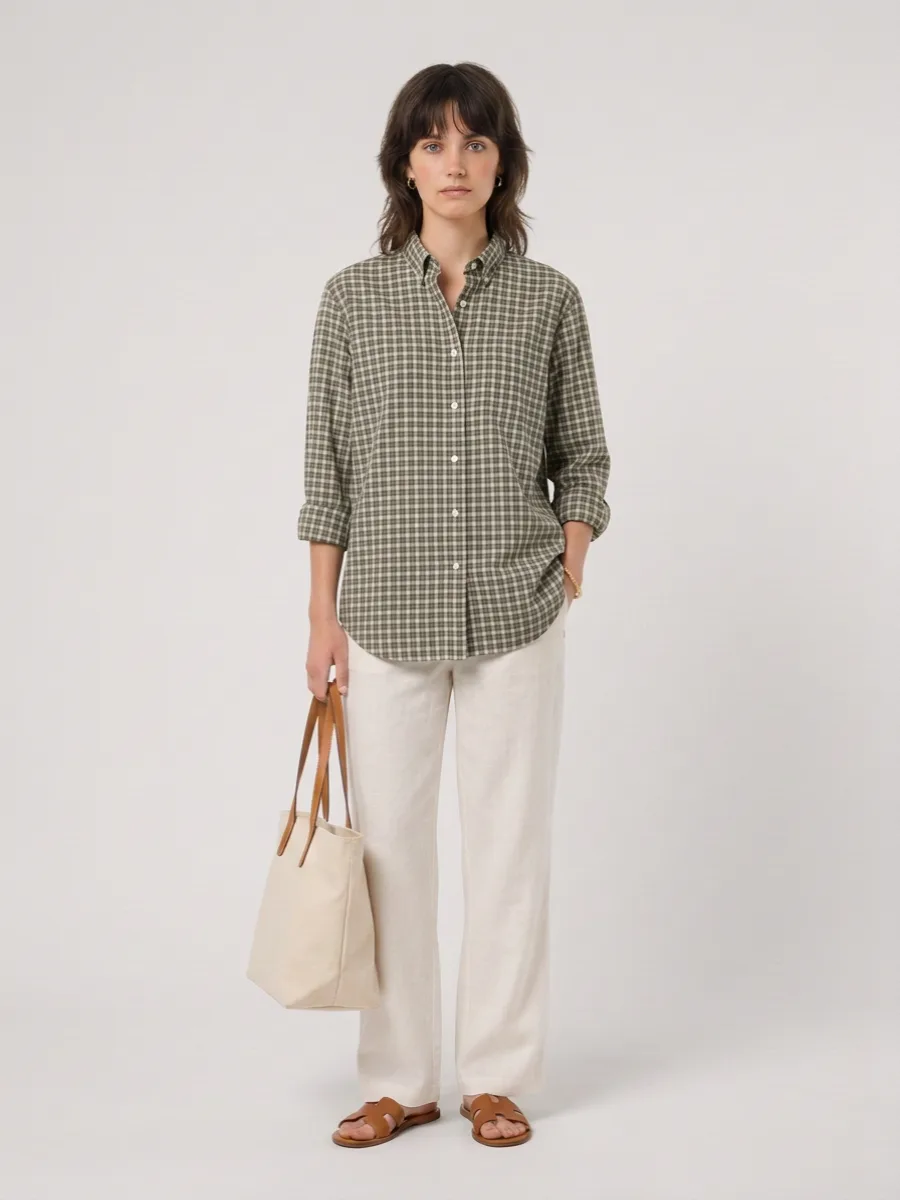
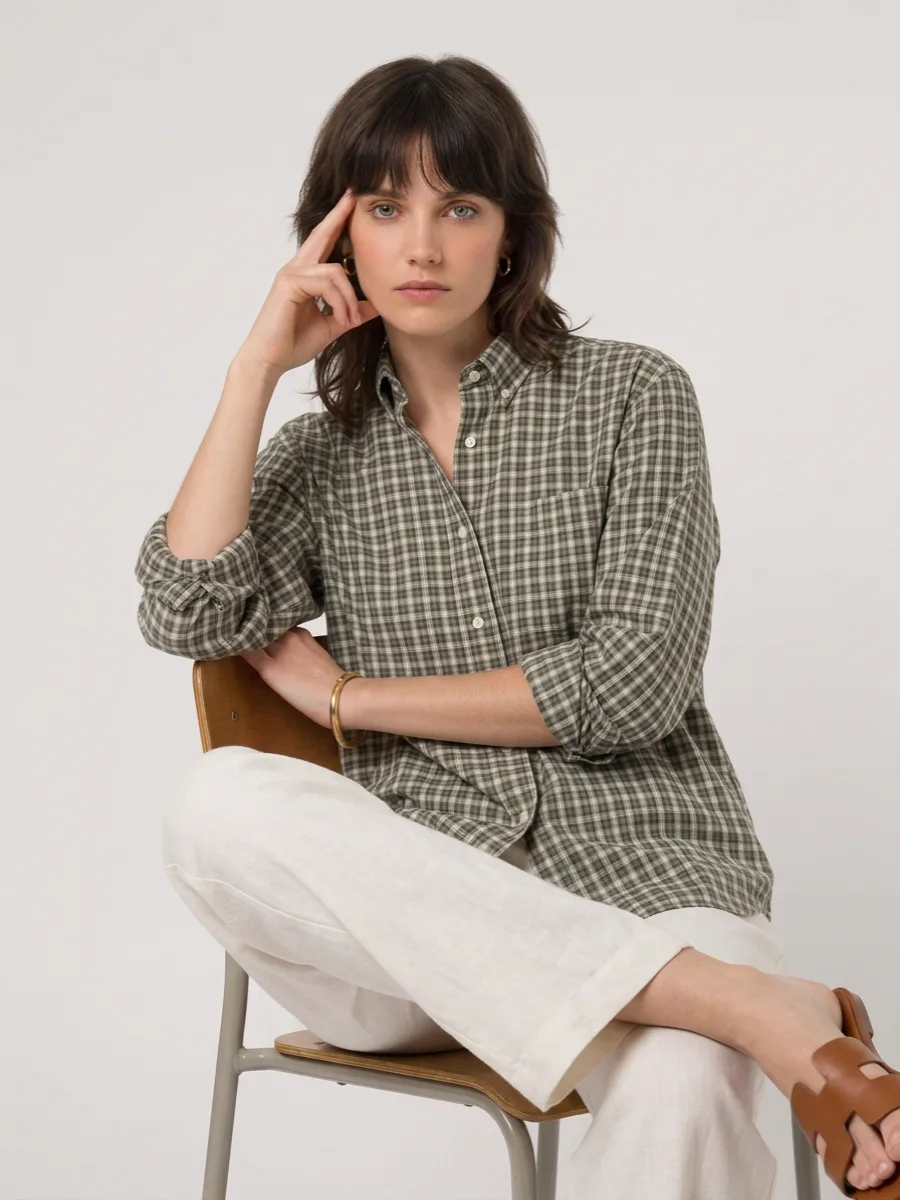
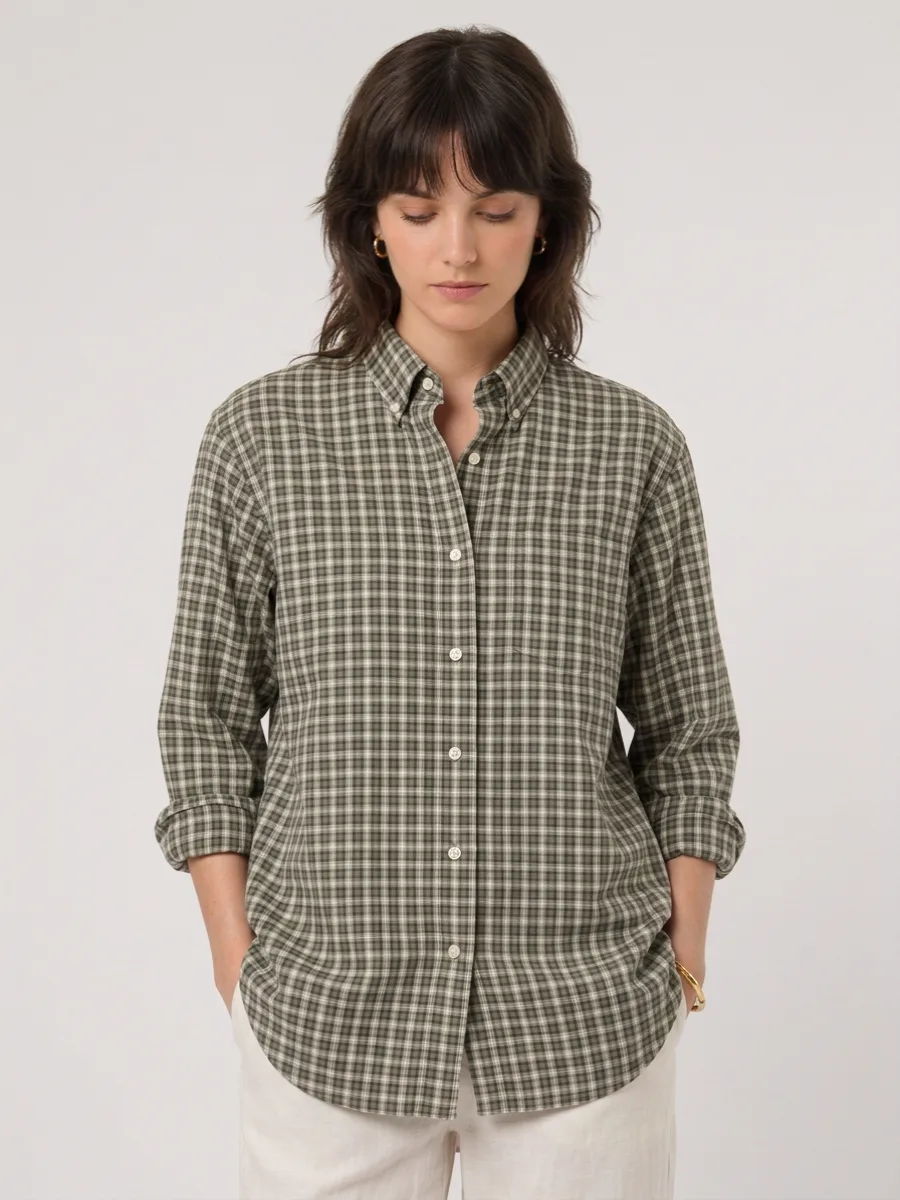
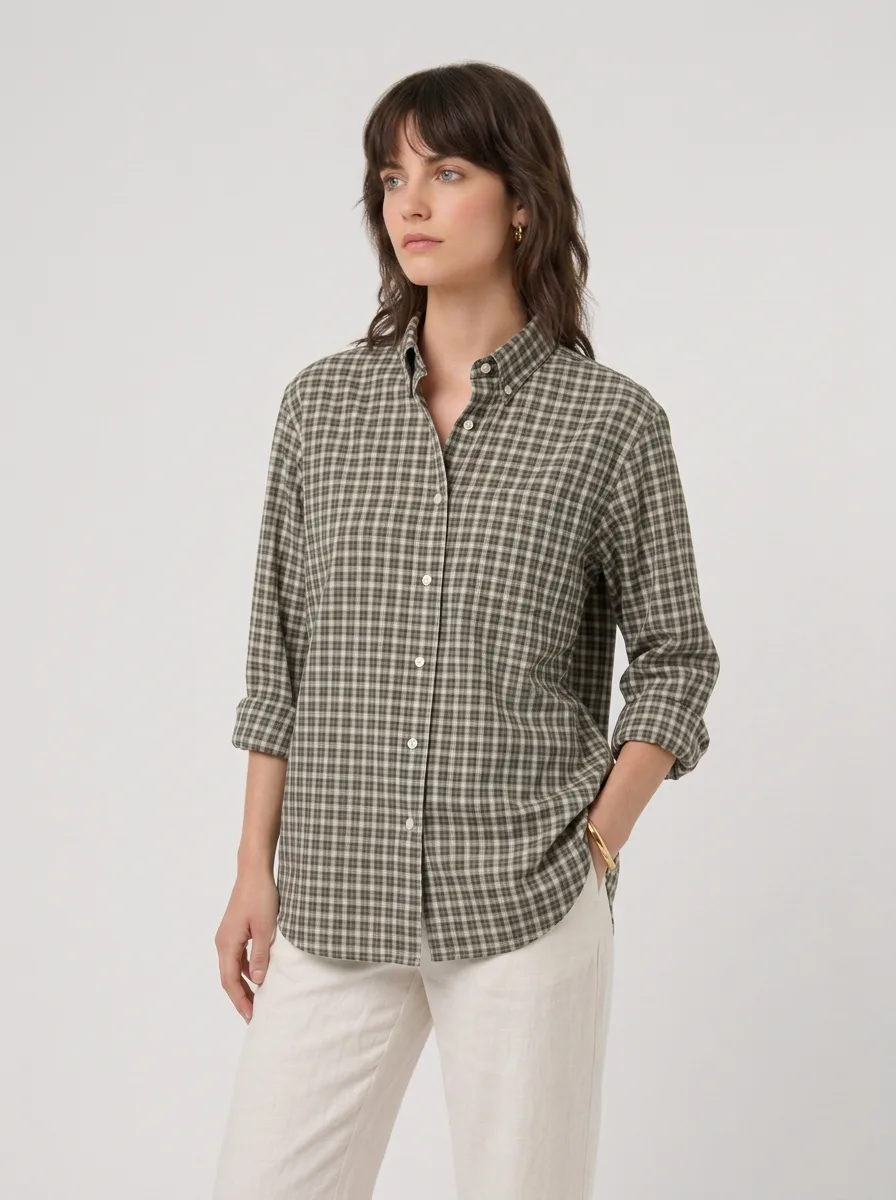
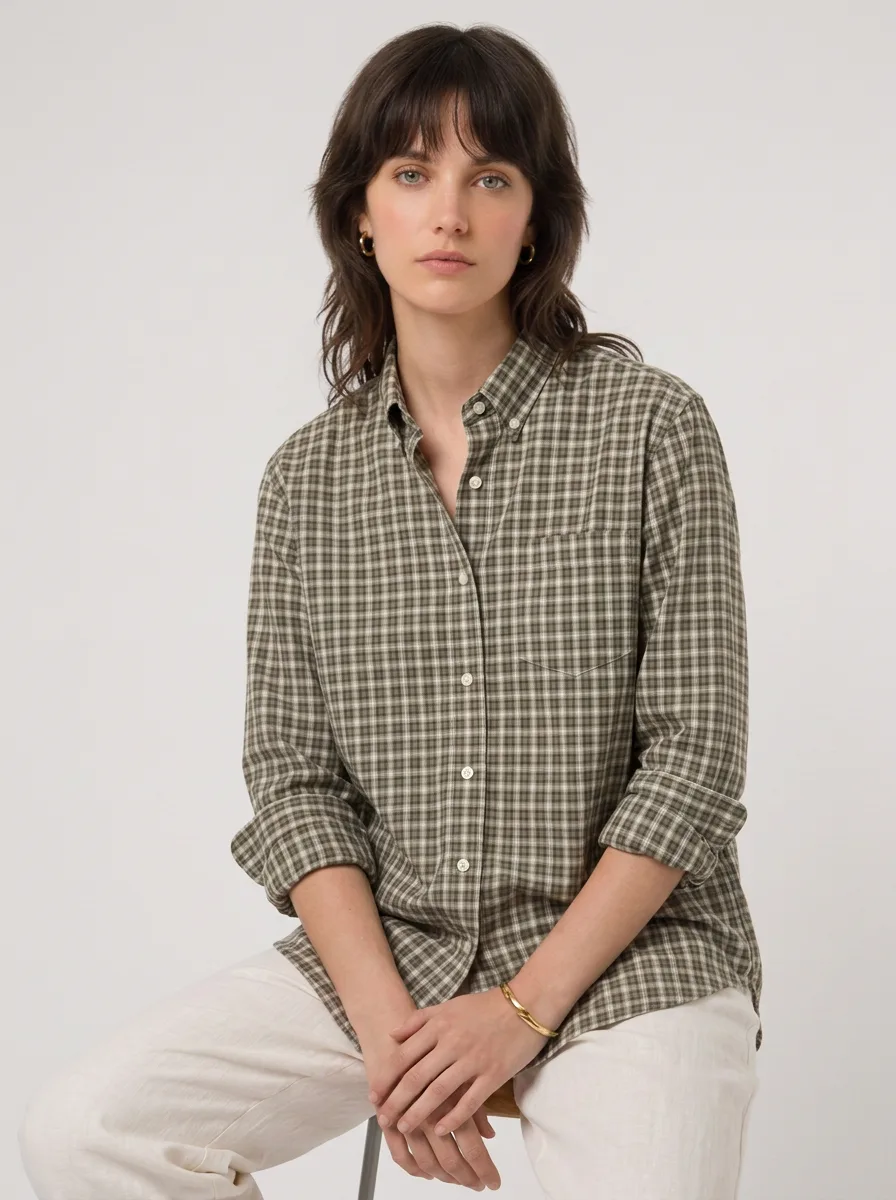
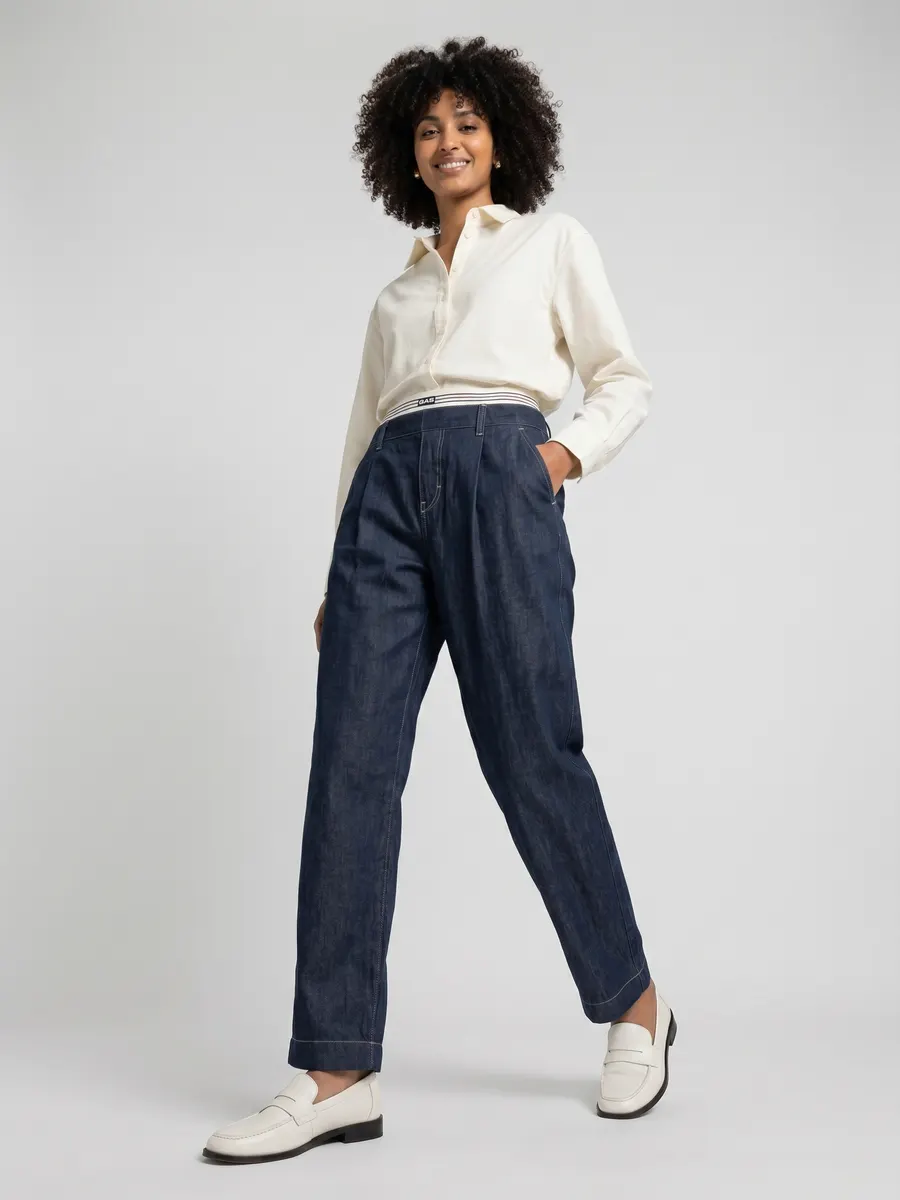
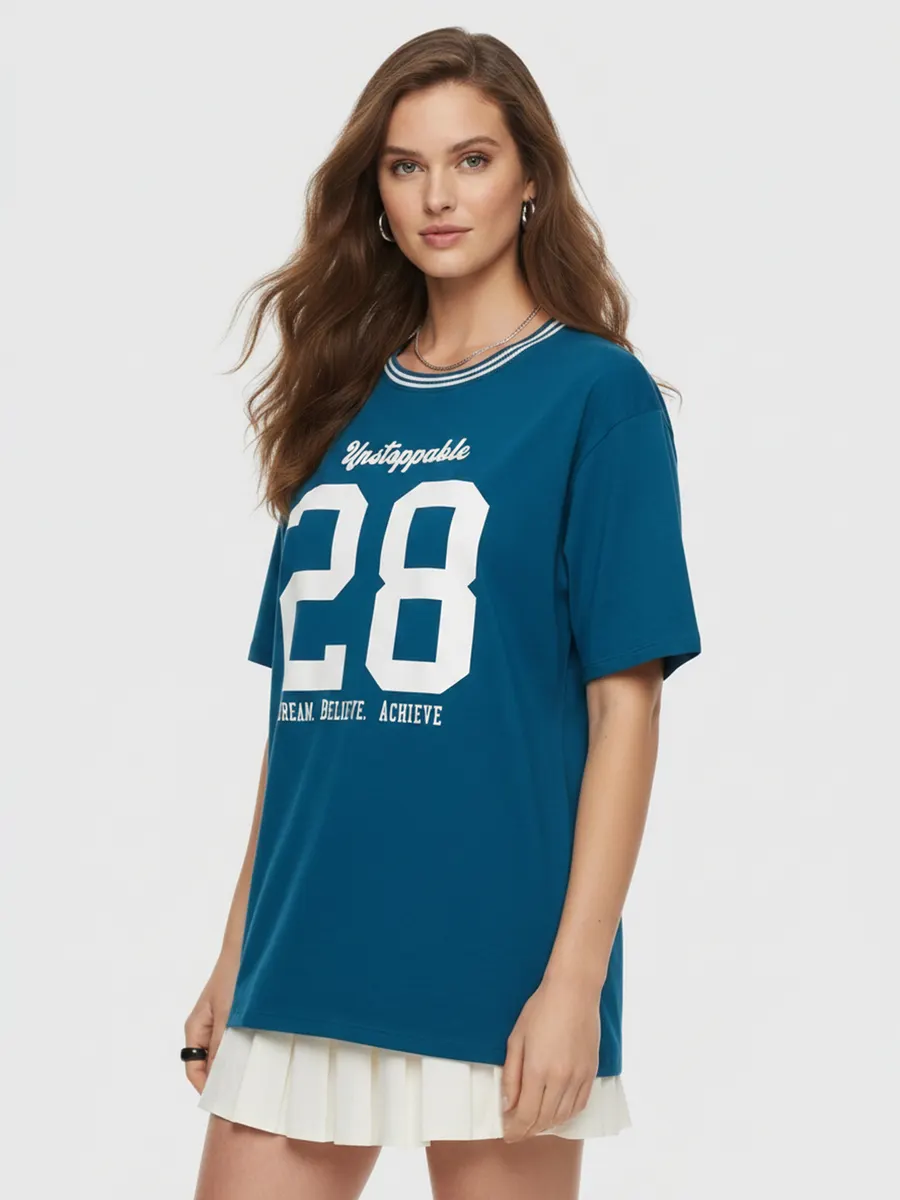
The workhorse. Feed it one garment and get the complete angle set back: front, back, three-quarter, detail and full body, lit and posed consistently across the whole line.

  1. 1Upload the garment
  2. 2Pick a model and background
  3. 3Choose the poses
  4. 4Generate, then export the set
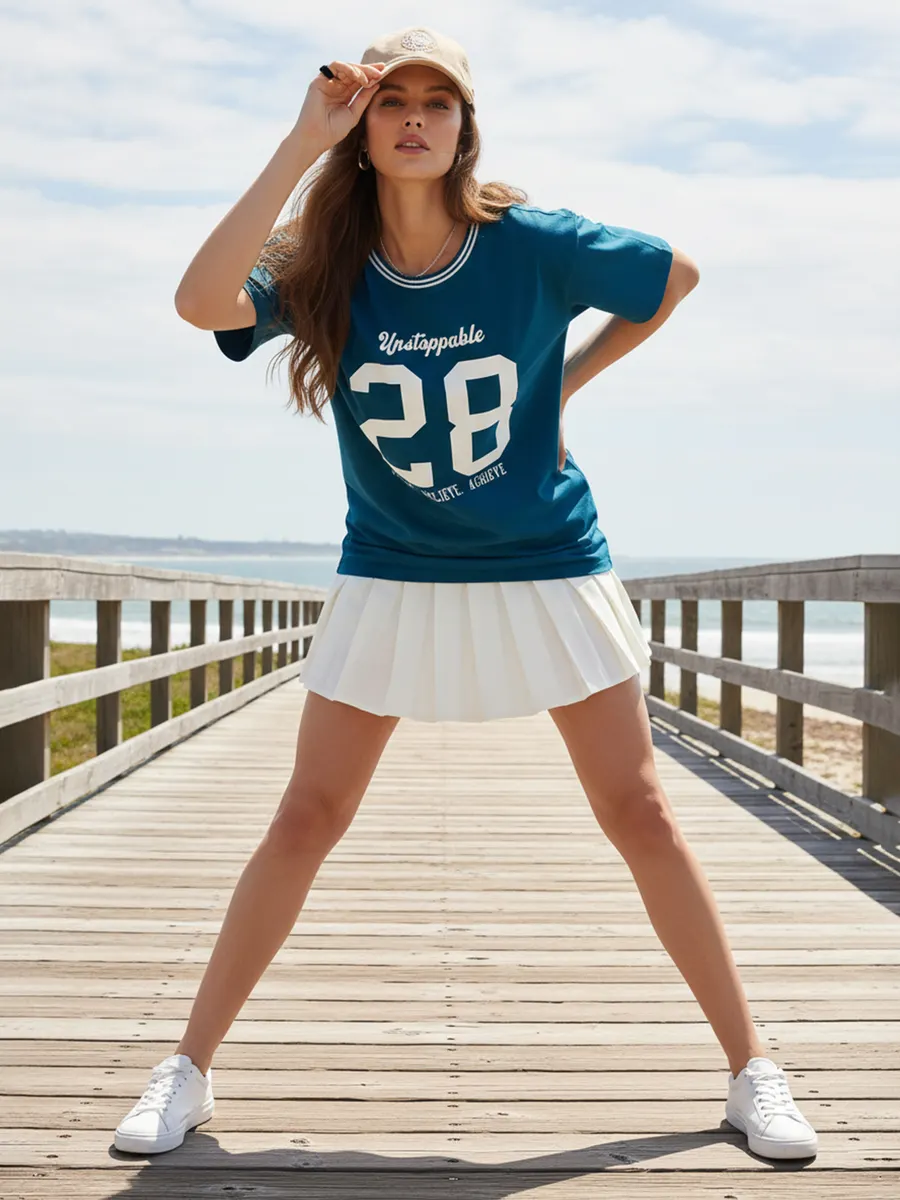
Catalog example 1: Studio catalog shoots per SKU — top, bottom, full body, or pair.
Catalog example 2: Studio catalog shoots per SKU — top, bottom, full body, or pair.
Catalog example 3: Studio catalog shoots per SKU — top, bottom, full body, or pair.
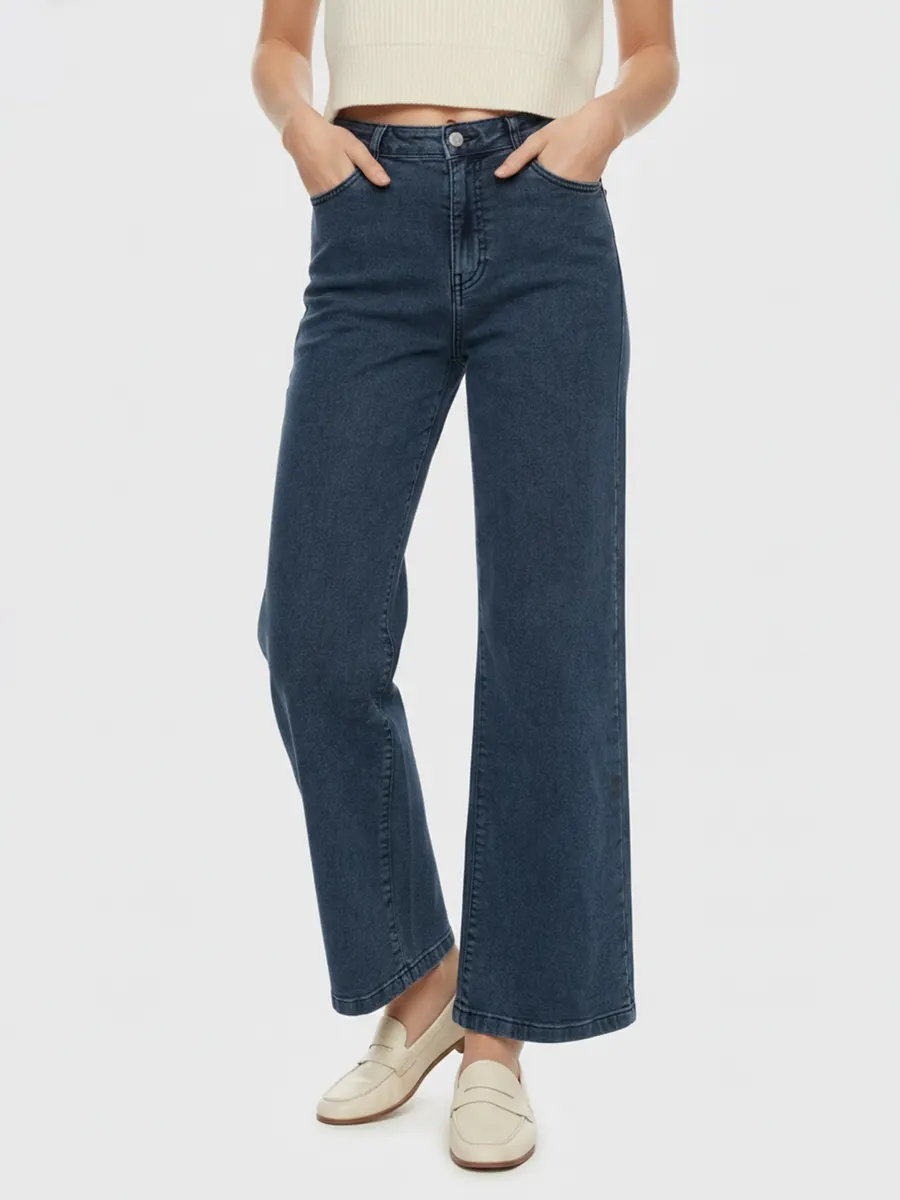
Catalog example 4: Studio catalog shoots per SKU — top, bottom, full body, or pair.
Catalog example 5: Studio catalog shoots per SKU — top, bottom, full body, or pair.
Catalog example 6: Studio catalog shoots per SKU — top, bottom, full body, or pair.

Undergarments Catalog

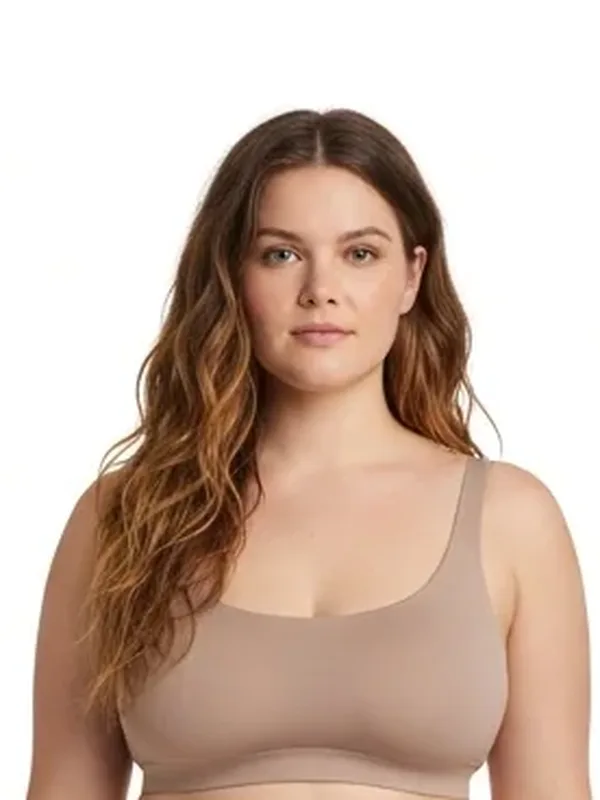
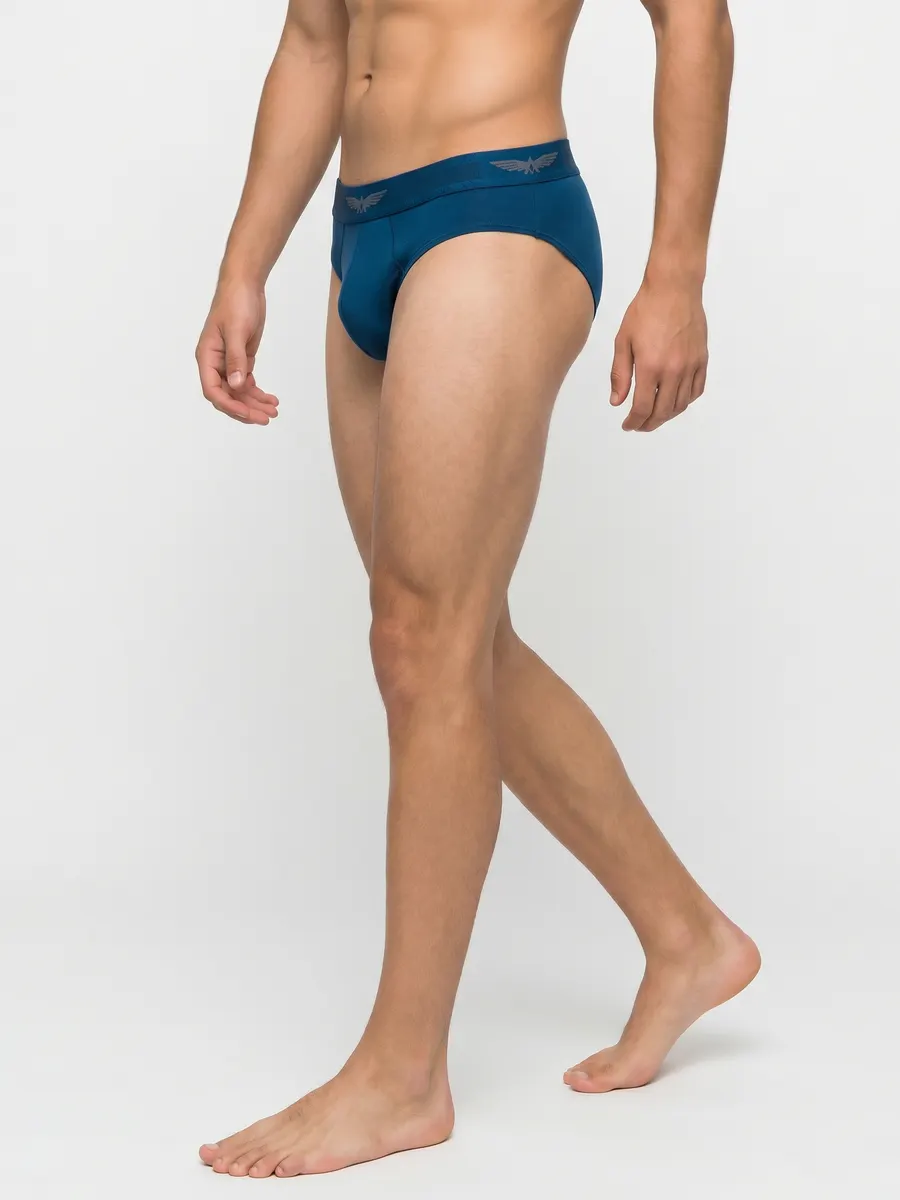
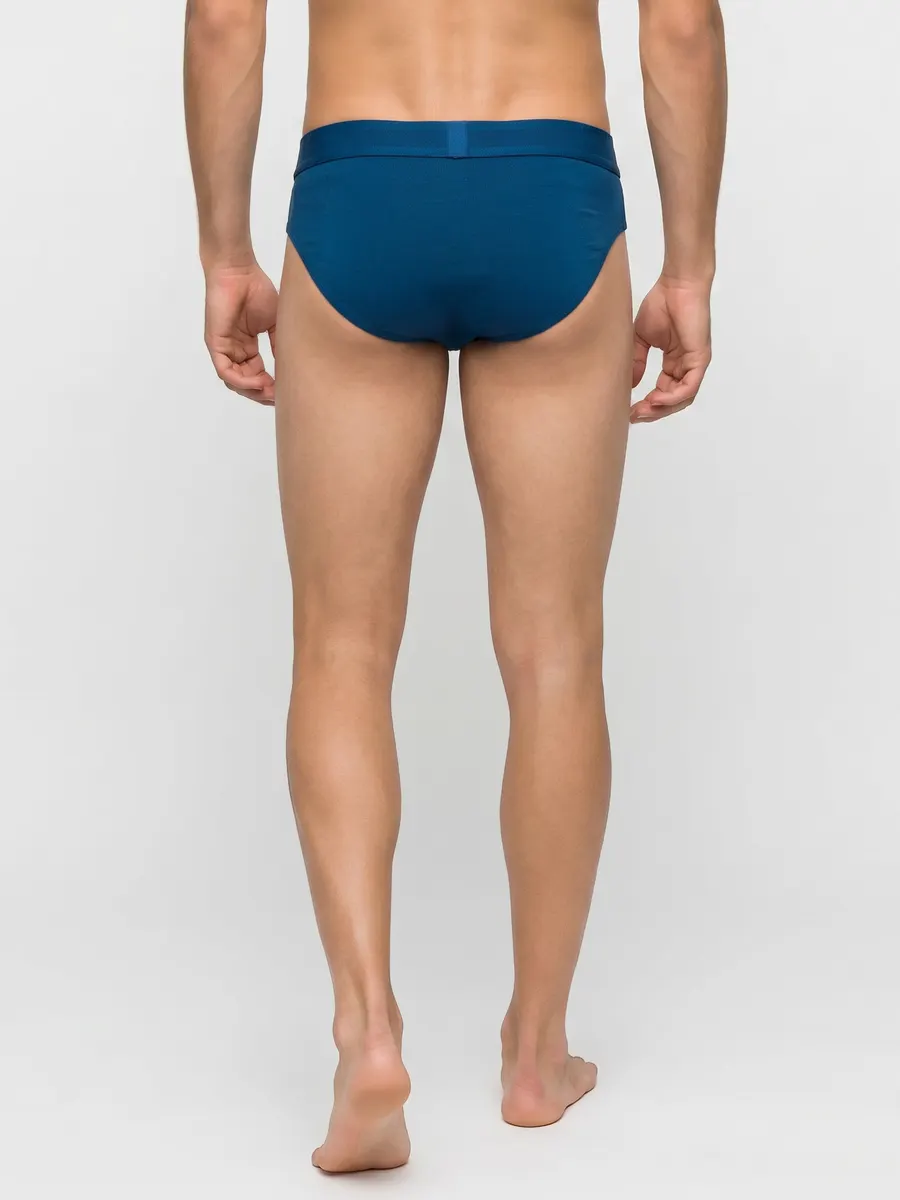
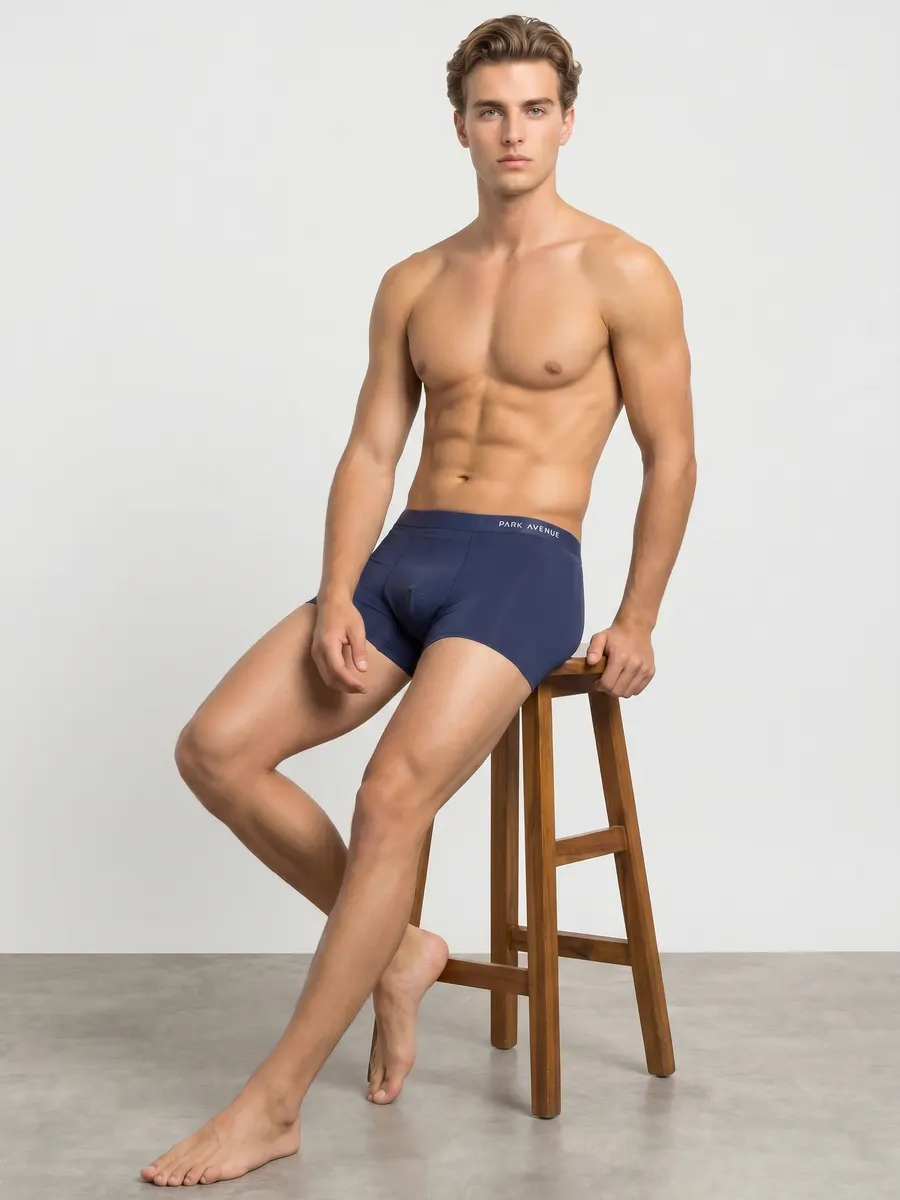
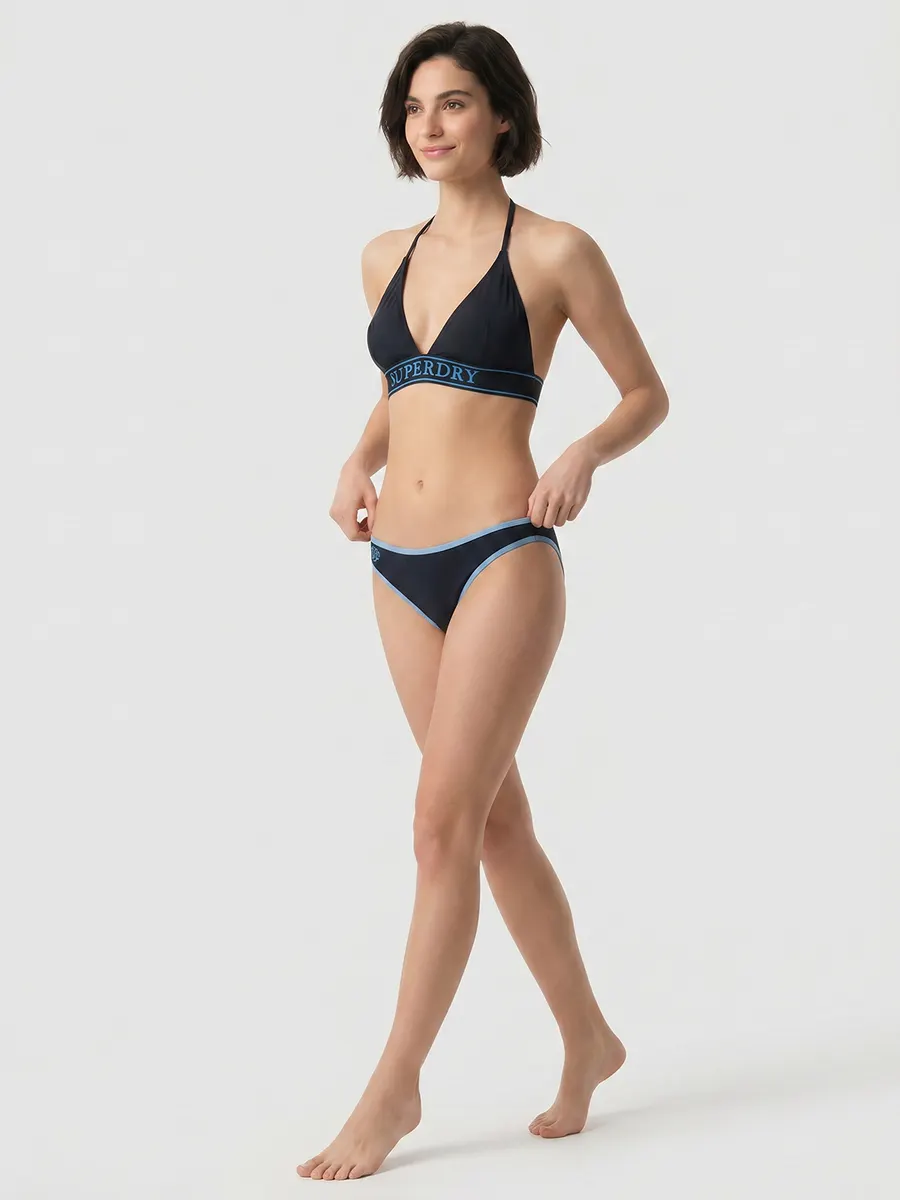
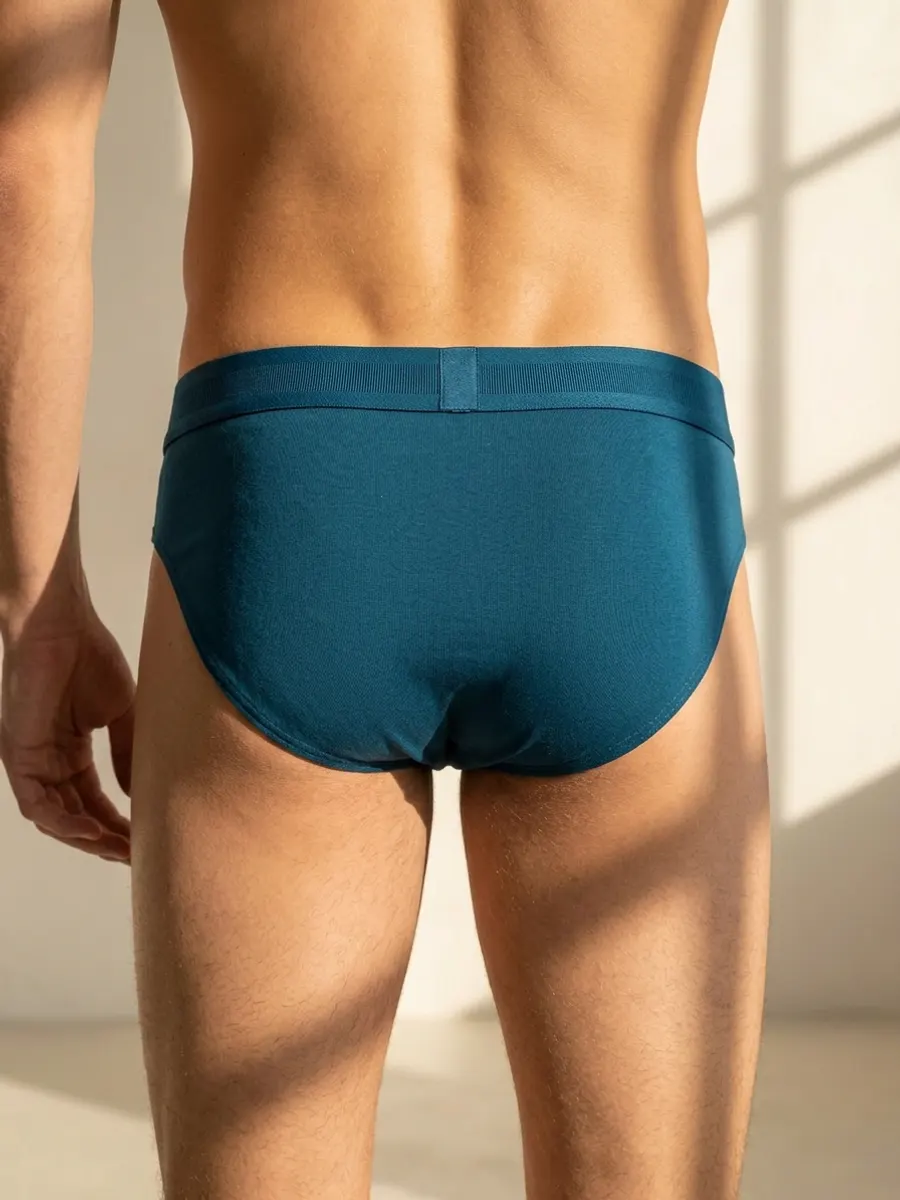
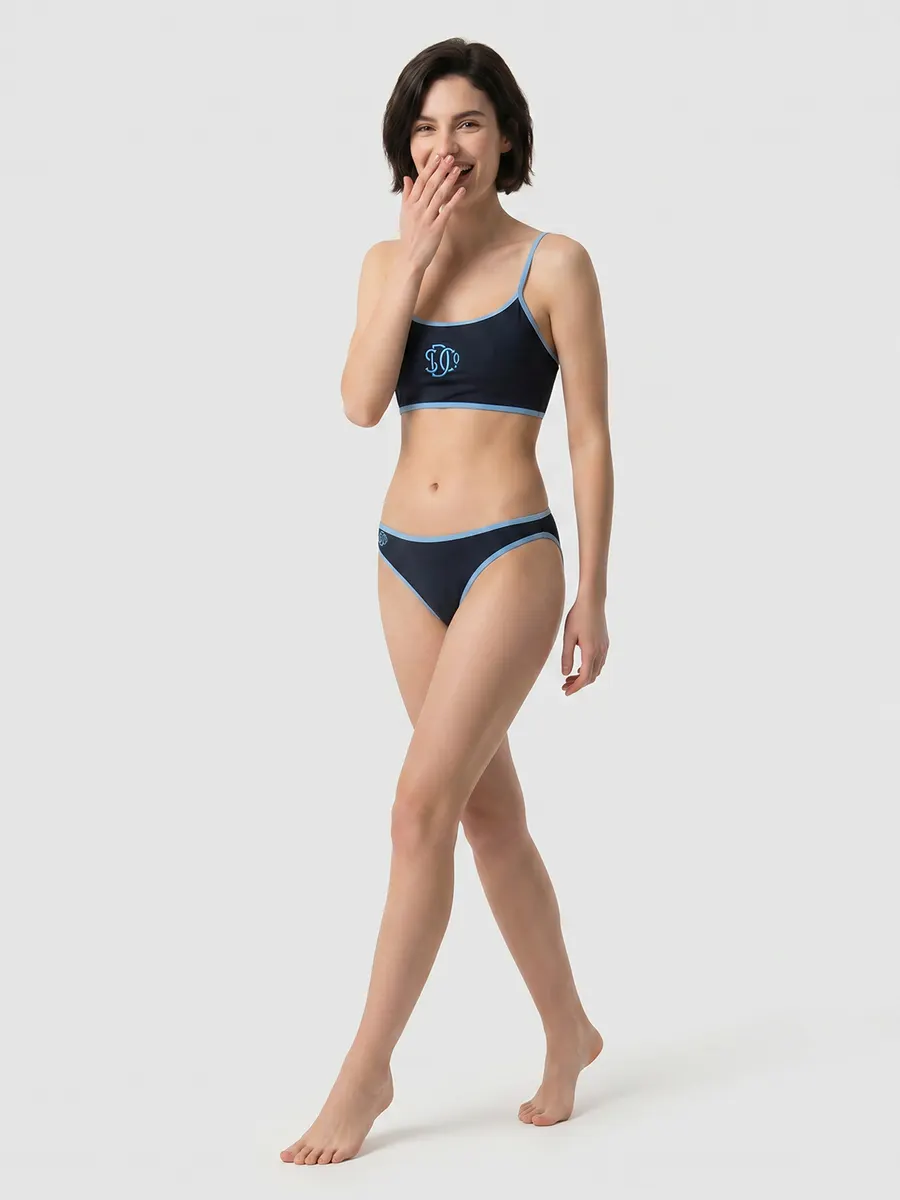
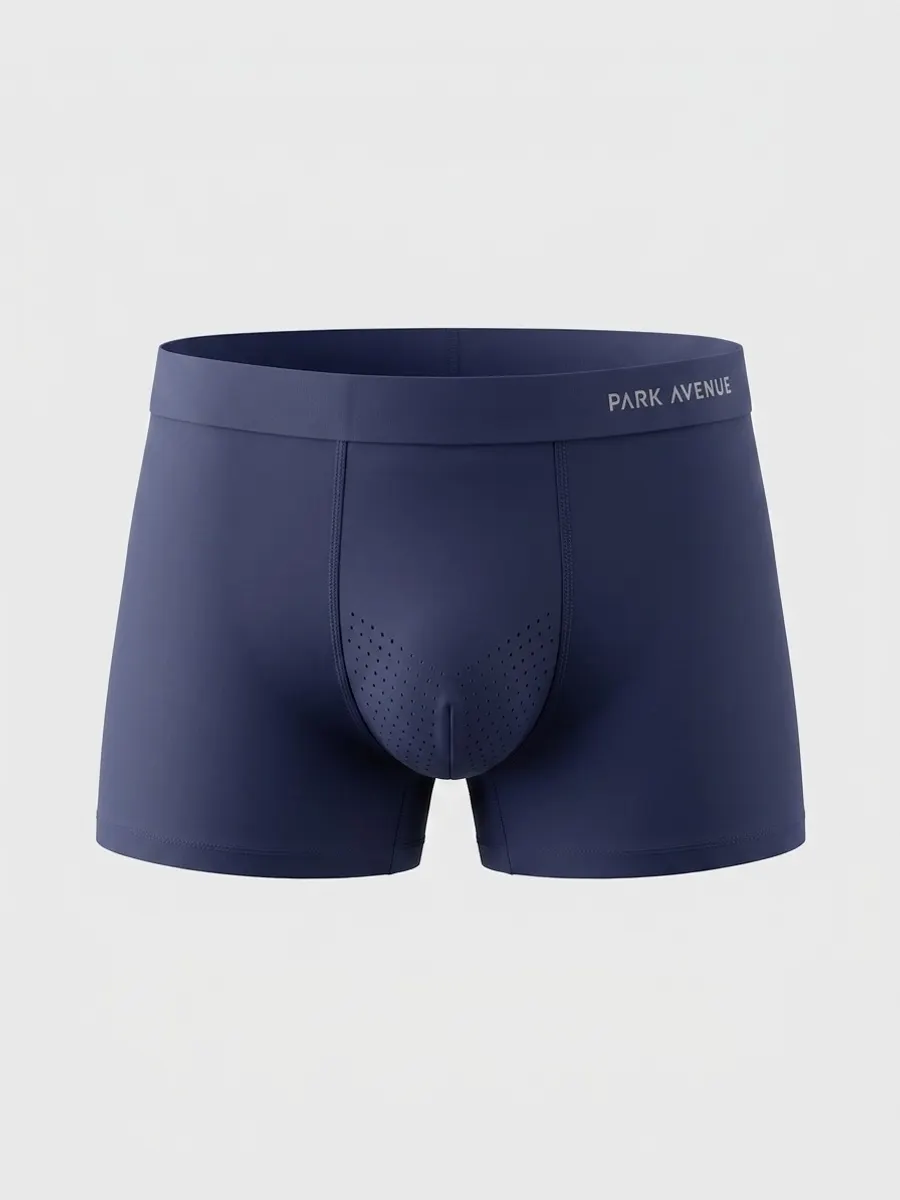
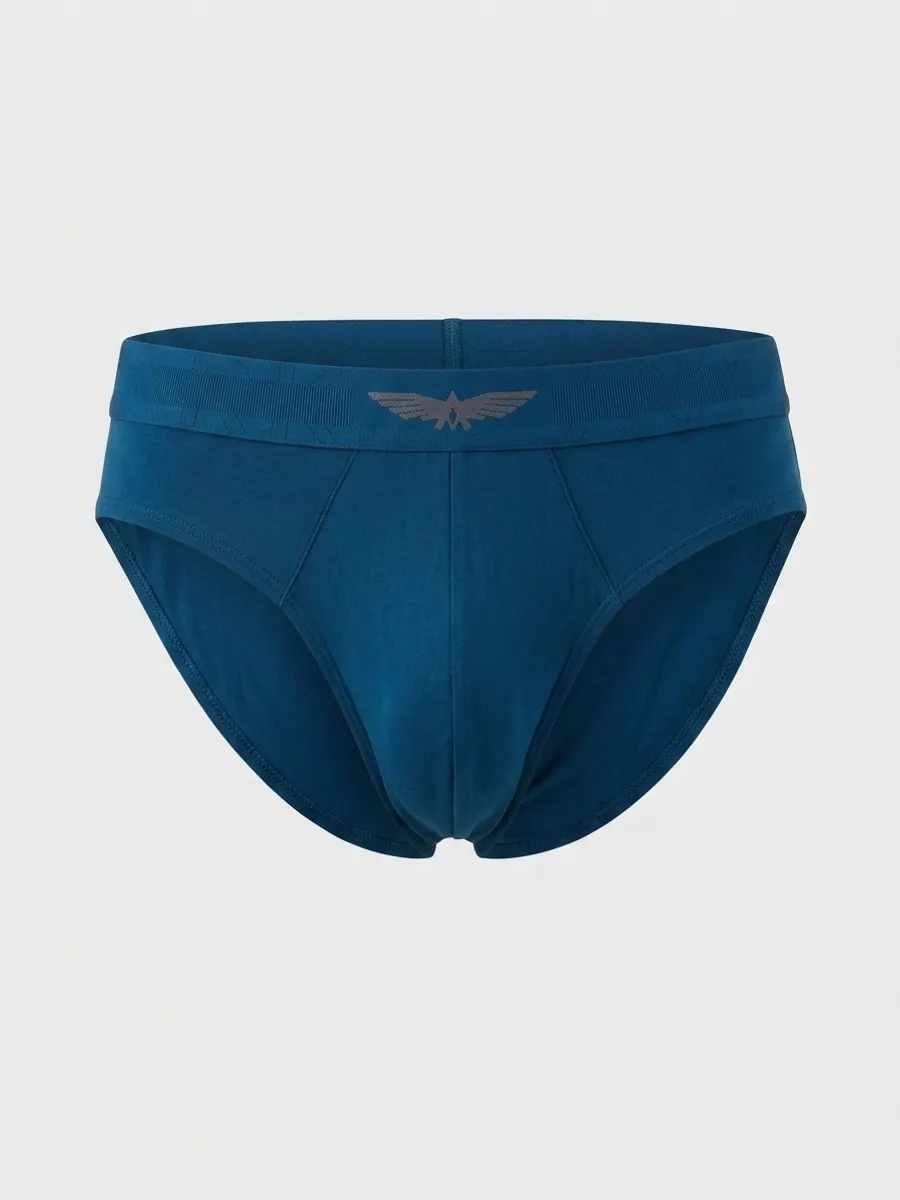
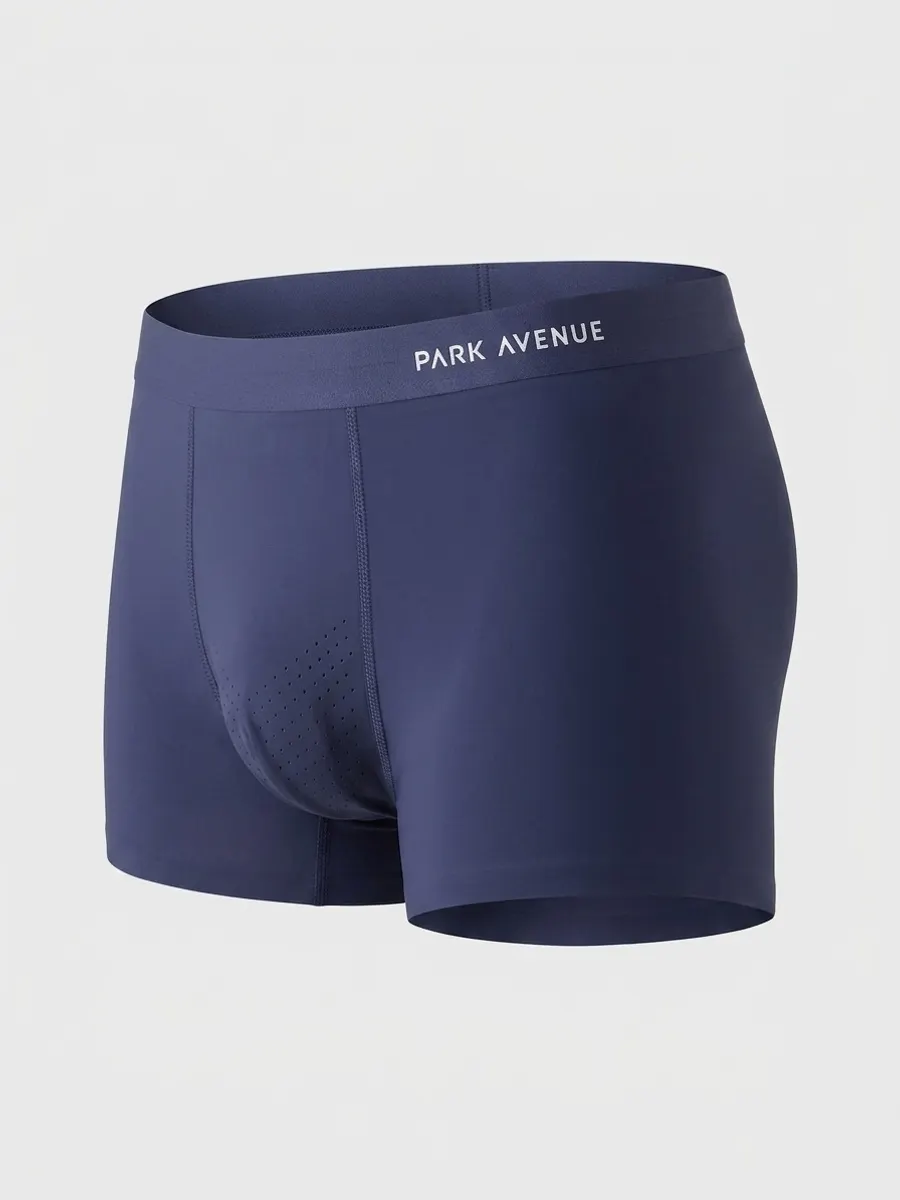
Innerwear is fit-critical and unforgiving, so it runs on its own pipeline — tighter control over drape, seam placement and body proportion than the general catalog flow allows.

  1. 1Upload front, back and detail
  2. 2Pick the innerwear poses
  3. 3Generate the set
Undergarments Catalog example 1: The same per-SKU catalog flow, tuned for innerwear.
Undergarments Catalog example 2: The same per-SKU catalog flow, tuned for innerwear.
Undergarments Catalog example 3: The same per-SKU catalog flow, tuned for innerwear.
Undergarments Catalog example 4: The same per-SKU catalog flow, tuned for innerwear.
Undergarments Catalog example 5: The same per-SKU catalog flow, tuned for innerwear.
Undergarments Catalog example 6: The same per-SKU catalog flow, tuned for innerwear.

Campaign Studio

Where catalog ends and art direction begins. Choose a cast, a rail of garments, a moodboard and a scene, and get a coherent multi-model campaign rather than a folder of unrelated stills.

  1. 1Pick your cast and wardrobe
  2. 2Add a moodboard and styling direction
  3. 3Describe the scene
  4. 4Generate the campaign
Campaign Studio example 1: Multi-model campaigns from a cast, garments, moodboard and scene prompt.
Campaign Studio example 2: Multi-model campaigns from a cast, garments, moodboard and scene prompt.
Campaign Studio example 3: Multi-model campaigns from a cast, garments, moodboard and scene prompt.
Campaign Studio example 4: Multi-model campaigns from a cast, garments, moodboard and scene prompt.
Campaign Studio example 5: Multi-model campaigns from a cast, garments, moodboard and scene prompt.
Campaign Studio example 6: Multi-model campaigns from a cast, garments, moodboard and scene prompt.

Product Studio

Accessories need a body to make sense of scale. Product Studio puts bags, jewellery, eyewear and watches on a model at the right proportion, without booking a hand or a head.

  1. 1Upload the product
  2. 2Pick a model
  3. 3Select the poses
  4. 4Generate the renders
Product Studio example 1: On-model shoots for non-apparel — bags, jewellery, eyewear, watches.
Product Studio example 2: On-model shoots for non-apparel — bags, jewellery, eyewear, watches.
Product Studio example 3: On-model shoots for non-apparel — bags, jewellery, eyewear, watches.
Product Studio example 4: On-model shoots for non-apparel — bags, jewellery, eyewear, watches.
Product Studio example 5: On-model shoots for non-apparel — bags, jewellery, eyewear, watches.
Product Studio example 6: On-model shoots for non-apparel — bags, jewellery, eyewear, watches.

Product Shots

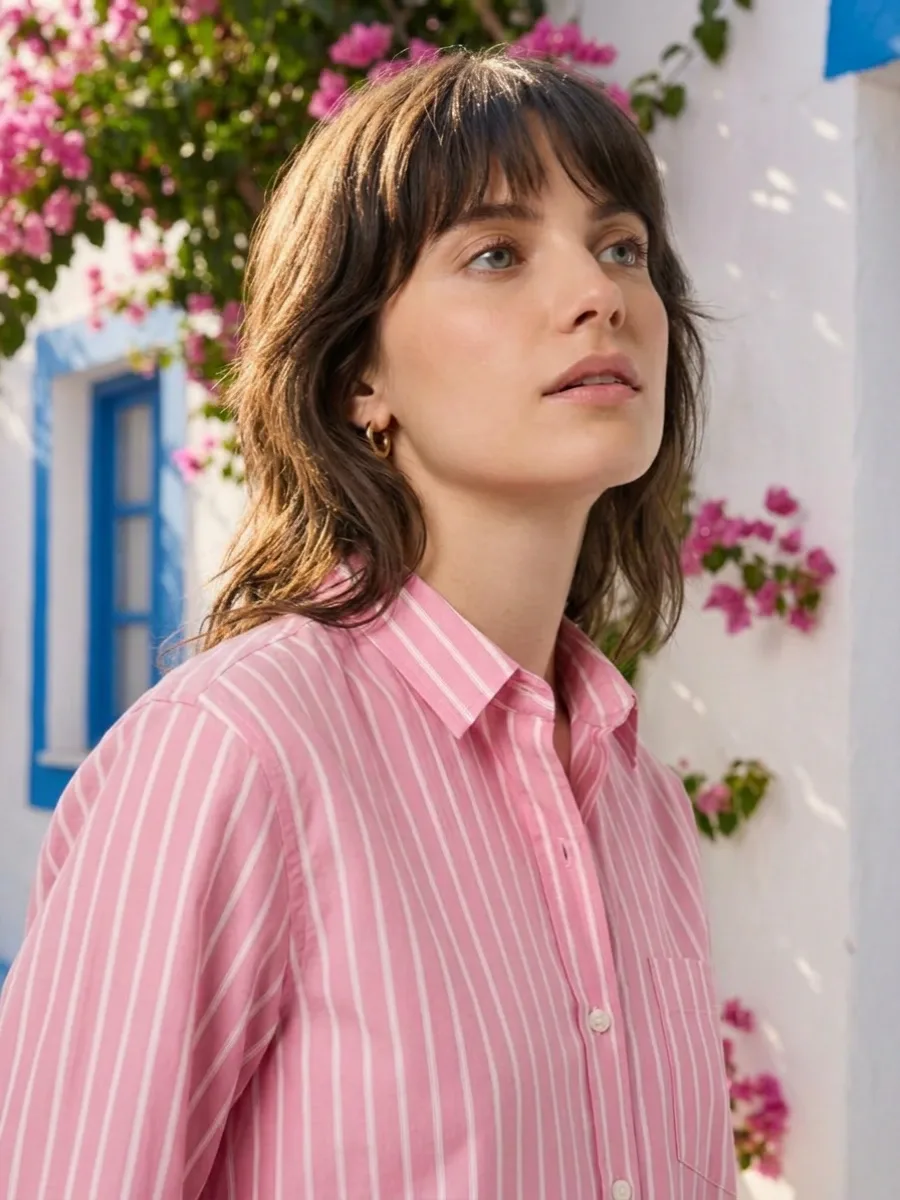
Take the flat lay you already shot on a white sweep and place it into a room, a street or a table setting. Same product, a scene that sells it.

  1. 1Add your garments
  2. 2Pick the shot types
  3. 3Set the background
  4. 4Generate
Product Shots example 1: Stage product photos into lifestyle scenes from an upload and a prompt.
Product Shots example 2: Stage product photos into lifestyle scenes from an upload and a prompt.
Product Shots example 3: Stage product photos into lifestyle scenes from an upload and a prompt.
Product Shots example 4: Stage product photos into lifestyle scenes from an upload and a prompt.
Product Shots example 5: Stage product photos into lifestyle scenes from an upload and a prompt.
Product Shots example 6: Stage product photos into lifestyle scenes from an upload and a prompt.

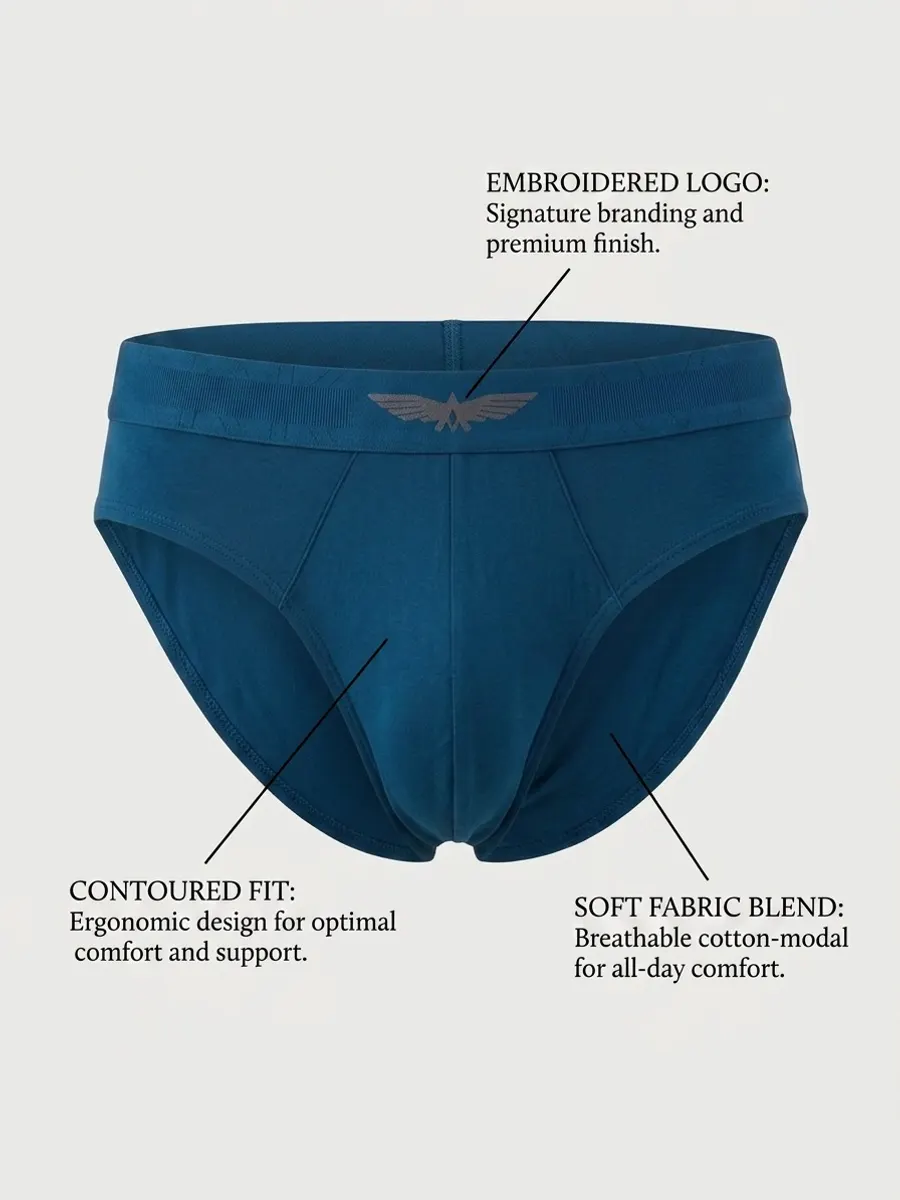
Product Infographics

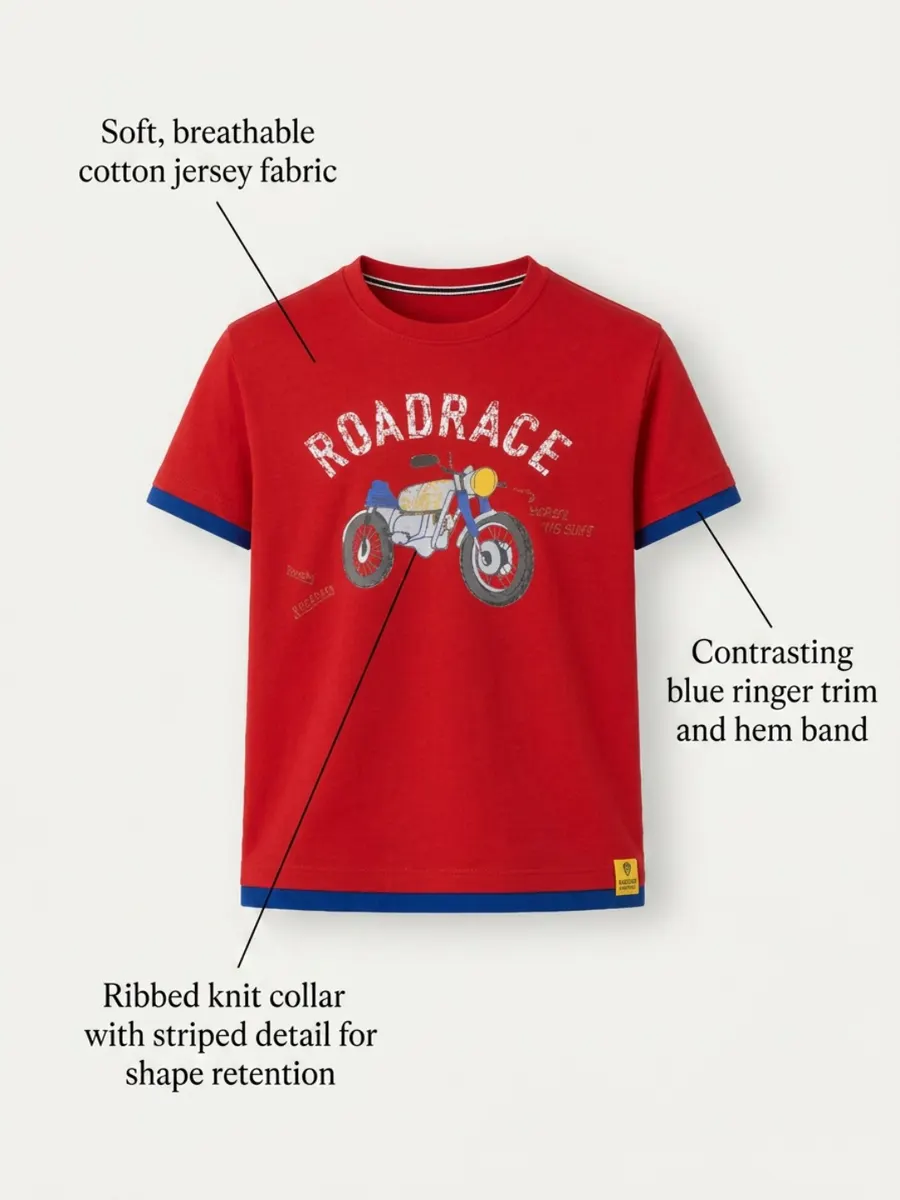
The graphics that sit third and fourth in a PDP carousel — fabric callouts, fit notes, care details — generated from the product photography and sized for each marketplace.

  1. 1Upload the product photos
  2. 2Choose a mode
  3. 3Add your copy, or let it write itself
  4. 4Generate the graphics
Product Infographics example 1: Feature sheets and e-comm graphics, art-directed from product photos.
Product Infographics example 2: Feature sheets and e-comm graphics, art-directed from product photos.
Product Infographics example 3: Feature sheets and e-comm graphics, art-directed from product photos.
Product Infographics example 4: Feature sheets and e-comm graphics, art-directed from product photos.
Product Infographics example 5: Feature sheets and e-comm graphics, art-directed from product photos.
Product Infographics example 6: Feature sheets and e-comm graphics, art-directed from product photos.

Edit

Changes imagery you already have.

6 tools

Body Swap

Keep the shot you already paid for and change who is wearing it. Useful for casting the same campaign differently across regions without reshooting a single frame.

  1. 1Drop in the product photos
  2. 2Pick the new model
  3. 3Set the background match
  4. 4Generate
Body Swap example 1: Swap the model in an existing photo. Garment and pose stay put.
Body Swap example 2: Swap the model in an existing photo. Garment and pose stay put.
Body Swap example 3: Swap the model in an existing photo. Garment and pose stay put.
Body Swap example 4: Swap the model in an existing photo. Garment and pose stay put.
Body Swap example 5: Swap the model in an existing photo. Garment and pose stay put.
Body Swap example 6: Swap the model in an existing photo. Garment and pose stay put.

Background Swap

The subject is held pixel-for-pixel while everything behind it is rebuilt. A studio plate becomes a rooftop, a beach or a showroom — with no re-lighting and no reshoot.

  1. 1Drop in the product photos
  2. 2Choose or describe the background
  3. 3Set the match mode
  4. 4Generate
Background Swap example 1: Pixel-lock the subject and rebuild only the environment.
Background Swap example 2: Pixel-lock the subject and rebuild only the environment.
Background Swap example 3: Pixel-lock the subject and rebuild only the environment.
Background Swap example 4: Pixel-lock the subject and rebuild only the environment.
Background Swap example 5: Pixel-lock the subject and rebuild only the environment.
Background Swap example 6: Pixel-lock the subject and rebuild only the environment.

Cloth Swap

One booking covers a whole season's drops. Model, pose and set stay identical while the garment changes, which is exactly what a colourway grid on a PDP needs.

  1. 1Pick the garment type
  2. 2Upload the original shoot
  3. 3Add the garment front, back and detail
  4. 4Generate the try-on
Cloth Swap example 1: Virtual try-on — keep the model, pose and background, swap the outfit.
Cloth Swap example 2: Virtual try-on — keep the model, pose and background, swap the outfit.
Cloth Swap example 3: Virtual try-on — keep the model, pose and background, swap the outfit.
Cloth Swap example 4: Virtual try-on — keep the model, pose and background, swap the outfit.
Cloth Swap example 5: Virtual try-on — keep the model, pose and background, swap the outfit.
Cloth Swap example 6: Virtual try-on — keep the model, pose and background, swap the outfit.

Bulk Edit

Define the edit once and apply it to the whole archive. Background removal, colour correction, cleanup and cropping run as one batch across thousands of images.

  1. 1Pick images, or point at a folder
  2. 2Write one edit instruction
  3. 3Set the background
  4. 4Run it across the batch
Bulk Edit example 1: One edit — cleanup, retouch, background — across thousands of images.
Bulk Edit example 2: One edit — cleanup, retouch, background — across thousands of images.
Bulk Edit example 3: One edit — cleanup, retouch, background — across thousands of images.
Bulk Edit example 4: One edit — cleanup, retouch, background — across thousands of images.
Bulk Edit example 5: One edit — cleanup, retouch, background — across thousands of images.
Bulk Edit example 6: One edit — cleanup, retouch, background — across thousands of images.

Toolkit

The small, awkward jobs: a stray thread, a bad crop, a logo that needs straightening. The utilities that stop a good set being held up by one bad frame.

  1. 1Upload the shot
  2. 2Pick a shot type, or describe the pose
  3. 3Generate
Toolkit example 1: Per-shot utilities for the fixes that don't fit anywhere else.
Toolkit example 2: Per-shot utilities for the fixes that don't fit anywhere else.
Toolkit example 3: Per-shot utilities for the fixes that don't fit anywhere else.
Toolkit example 4: Per-shot utilities for the fixes that don't fit anywhere else.
Toolkit example 5: Per-shot utilities for the fixes that don't fit anywhere else.
Toolkit example 6: Per-shot utilities for the fixes that don't fit anywhere else.

Floating Bulk

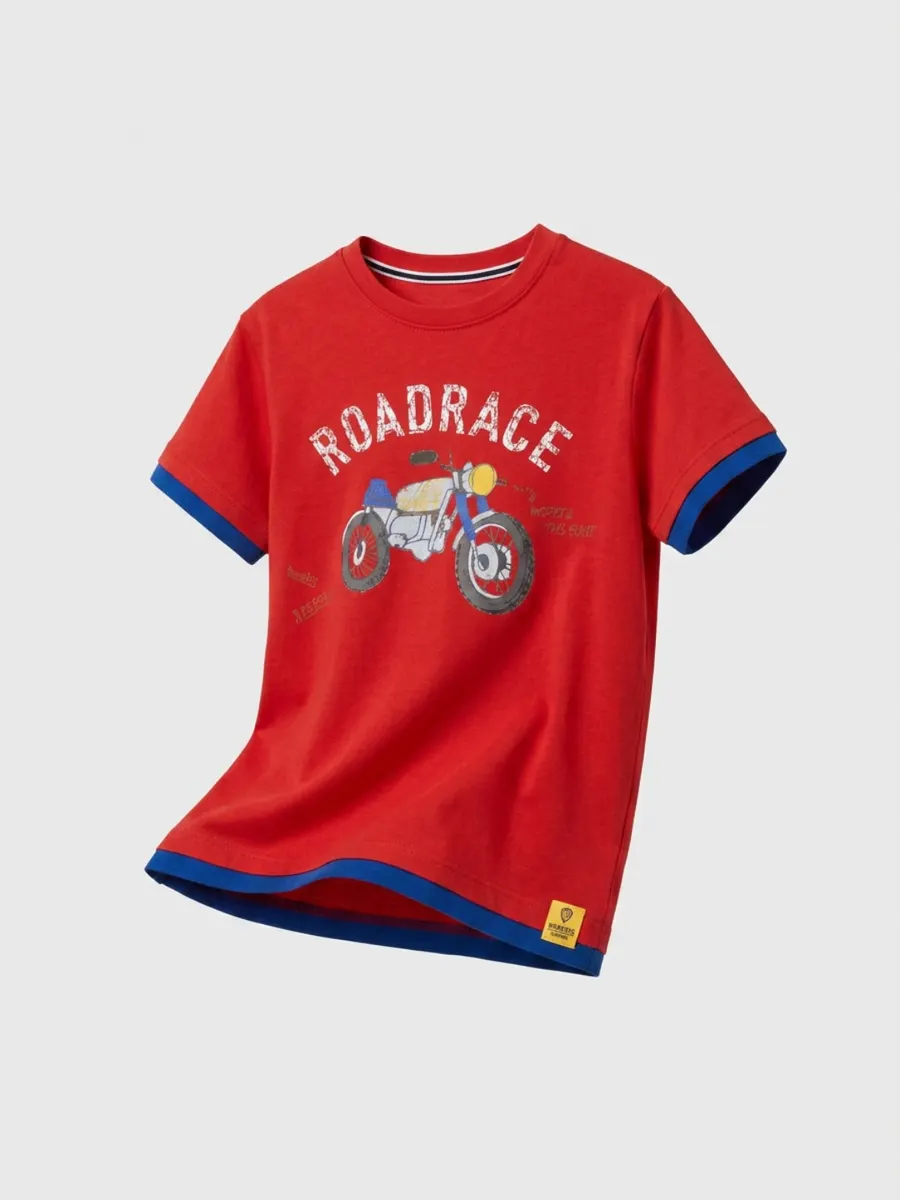
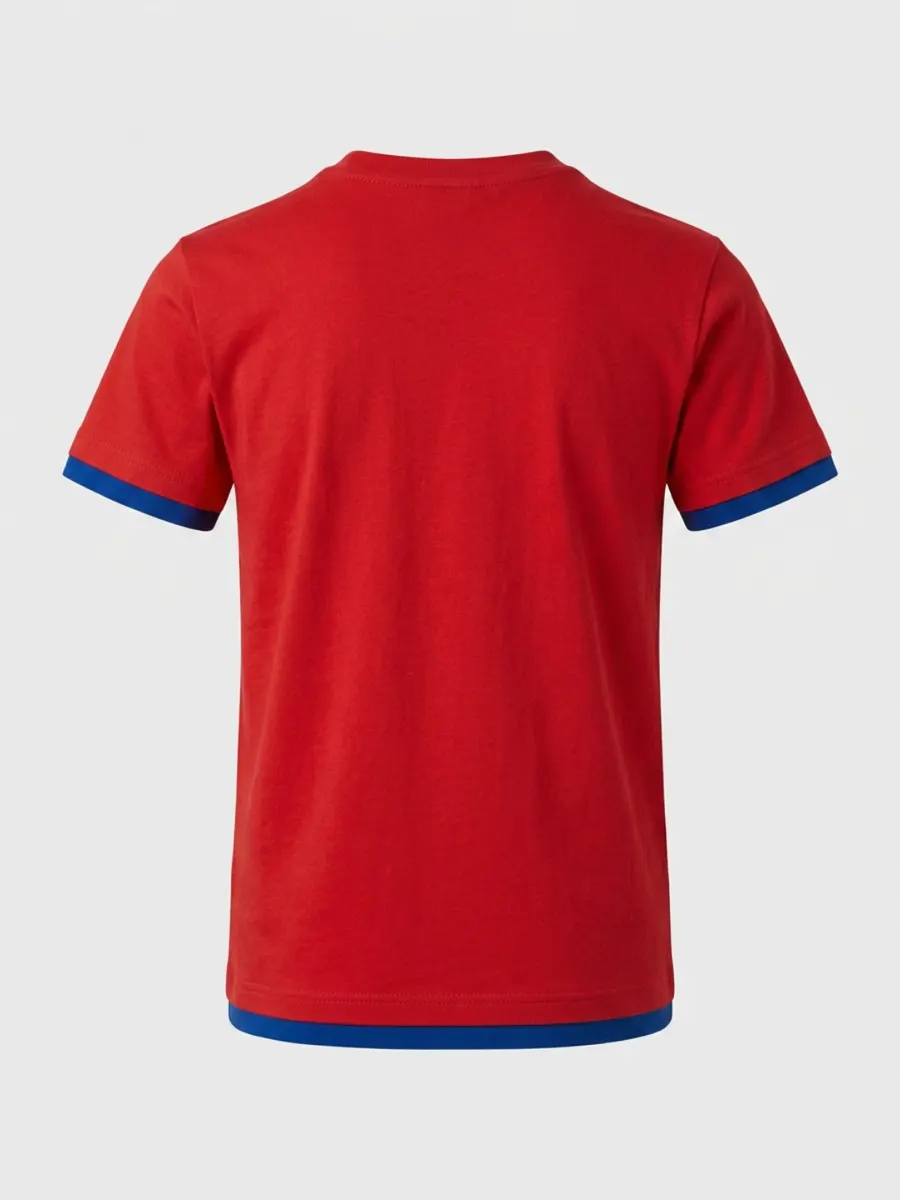
Ghost-mannequin stills at catalogue scale. Garments photographed on a form come back floating cleanly, with the inner neck and hem reconstructed, ready for a white-background grid.

  1. 1Drop the garments in
  2. 2Pick a background and ratio
  3. 3Generate the floating shots
  4. 4Download the ZIP
Floating Bulk example 1: Bulk floating and ghost-mannequin product shots.
Floating Bulk example 2: Bulk floating and ghost-mannequin product shots.
Floating Bulk example 3: Bulk floating and ghost-mannequin product shots.
Floating Bulk example 4: Bulk floating and ghost-mannequin product shots.
Floating Bulk example 5: Bulk floating and ghost-mannequin product shots.
Floating Bulk example 6: Bulk floating and ghost-mannequin product shots.